The Droplet Console is not available for Private Droplets because they have no public IP address. To connect to a Private Droplet, use a bastion host. See How to Connect to a Private Droplet.
How to Connect to Droplets with the Droplet Console
Last verified 30 Jun 2026
DigitalOcean Droplets are Linux-based virtual machines (VMs) that run on top of virtualized hardware. Each Droplet you create is a new server you can use, either standalone or as part of a larger, cloud-based infrastructure.
The Droplet Console is a browser-based way to connect to Droplets. Instead of using ssh in a local terminal, you can use the Droplet Console in your preferred web browser.
The Droplet Console has a native-like terminal experience, so you can run commands on your Droplet from a familiar command-line interface. It also provides one-click SSH access to your Droplet without the need for a password or manual SSH key configuration.
Requirements
The Droplet Console is available at no extra cost for Droplets that meet the following requirements:
-
The Droplet must be running a supported operating system.
The Droplet Console is supported for all DigitalOcean-provided Linux distributions: Ubuntu, Debian, CentOS, and Fedora. This also includes all Marketplace images built on top of these distributions.
-
Your cloud firewall and any host firewalls must accept SSH traffic on the port that
sshduses.If you have configured any of your firewalls to block SSH traffic on the port the SSH daemon listens on, you need to reconfigure their rules to accept incoming SSH connections on that port.
-
Your firewalls must allow outbound TCP access to the metadata service.
The Droplet agent requires outbound TCP access to
169.254.169.254to retrieve SSH keys. If you have restricted outbound TCP traffic, add a rule that allows all outbound TCP traffic to169.254.169.254. Without this access, the Droplet Console cannot authenticate your session.
If you need to recover network access to your Droplet, use the Recovery Console instead.
Install and Configure the Droplet Agent
To connect to a Droplet using the Droplet Console, the Droplet must have the Droplet agent installed. The agent is installed by default on all new Droplets created after August 2021, and you can install the agent manually on older Droplets.
By default, the Droplet Console connects on the first port defined in the Droplet’s SSH daemon configuration, /etc/ssh/sshd_config. If you launch sshd with a different configuration file, or if you define multiple ports in that file and want to use one other than the first, you need to update the service file for the Droplet agent.
The Droplet agent service file is /etc/systemd/system/droplet-agent.service on Droplets with systemd and /etc/init/droplet-agent.conf on older Droplets with initctl.
To define a custom sshd configuration file, find the ExecStart line in the service file and append the -sshd_config flag with the path to your sshd configuration file:
ExecStart=/opt/digitalocean/bin/droplet-agent -syslog -sshd_config="/path/to/your/custom/sshd_config"To define a specific port, find the ExecStart line in the service file and append the -sshd_port flag with the port number you want to use.
ExecStart=/opt/digitalocean/bin/droplet-agent -syslog -sshd_port=123After making changes to the service file, restart the service. On Droplets with systemd:
systemctl daemon-reload
systemctl restart droplet-agent
On Droplets with initctl:
initctl stop droplet-agent
initctl reload-configuration
initctl start droplet-agent
Once the agent restarts, you can connect to your Droplet with the Droplet Console.
Access the Droplet Console
Once the Droplet agent is installed (and configured if necessary), you can access the Droplet Console from the DigitalOcean Control Panel.
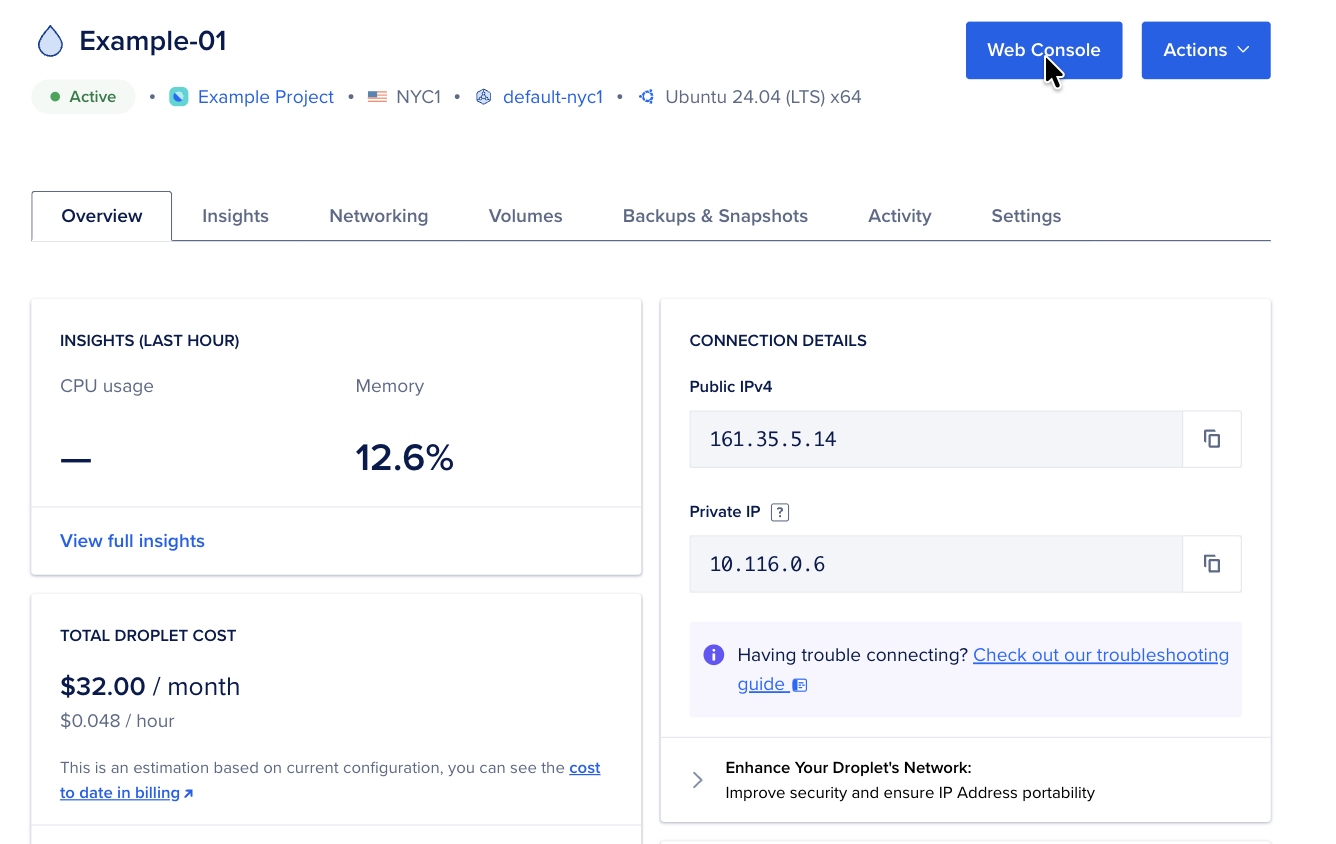
Open the Droplet from the Droplets list (click the Droplet name) to open its detail page. Click the Web Console button at the top of the page.
You can also click Actions and select Connect to open the console. When the console loads, you can use the command line to run commands on your Droplet.