How to Tag Droplets
Last verified 13 Jul 2026
DigitalOcean Droplets are Linux-based virtual machines (VMs) that run on top of virtualized hardware. Each Droplet you create is a new server you can use, either standalone or as part of a larger, cloud-based infrastructure.
Tags are custom labels you can apply to Droplets and other DigitalOcean resources. You can filter tagged Droplets, automatically include Droplets in DigitalOcean Firewall or Load Balancer configurations by tag, create monitoring alert policies for groups of tagged Droplets, and use the DigitalOcean API to initiate an action across multiple Droplets with the same tag.
Choosing terms that describe a Droplet’s function can help you locate and administer Droplets that share common roles. For example, you might tag Droplets by:
- Environment, like production, staging, or development.
- Application, like web servers (Apache) or database servers (MariaDB).
- Purpose, like a project name or any other key term that describes the use of the Droplet.
- Person, like the individual or team responsible for managing the Droplet.
You can add tags to Droplets during or after creation.
Limits
- Tags must be a single word containing only letters, numbers, colons, dashes, and underscores.
Known Issues
- You cannot edit existing tags. Instead, create a new tag, apply it to the appropriate resources, and delete the old one.
- Tag names are case stable, which means the capitalization you use when you first create a tag is canonical.
- Tagged resources in the Control Panel always display the canonical capitalization. For example, if you create a tag named
PROD, you can tag resources in the Control Panel by enteringprod. The tag still displays with its canonical capitalization,PROD. - When working with tags in the API, you must use the tag’s canonical capitalization. For example, if you create a tag named
PROD, the URL to add that tag to a resource would behttps://api.digitalocean.com/v2/tags/PROD/resources(not/v2/tags/prod/resources).
- Tagged resources in the Control Panel always display the canonical capitalization. For example, if you create a tag named
Tag Existing Droplets
To add or modify tags for an existing Droplet, you can:
- Open the Droplet’s detail page, click the Settings tab, scroll to the Tags section, and click Edit.
- Click Actions on the Droplet’s detail page and select Edit tags (or Add tags if the Droplet has none).
- Click the More menu next to the Droplet on the Droplets list and select a tag option.
The Manage Tags window opens.
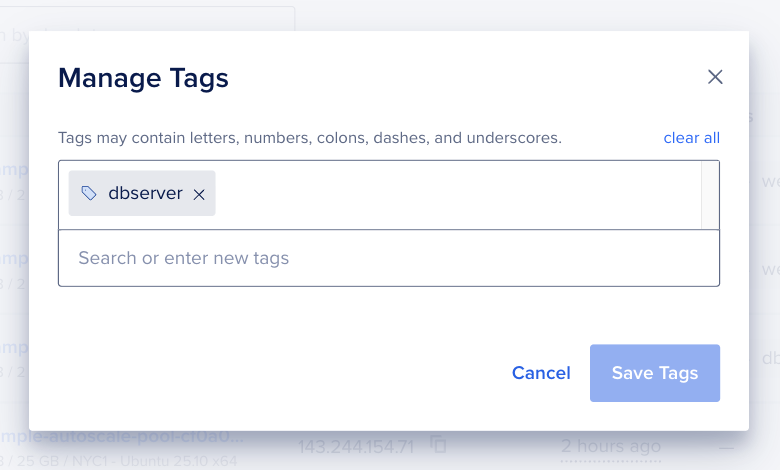
Add tags by pressing SPACEBAR or ENTER after each term. Navigate between tags with the arrow keys, and remove the highlighted tag with DELETE or the last tag on the list with BACKSPACE.
When you’re done, click Save Tags.
Tag Droplets During Creation
To add tags while creating a new Droplet, at the bottom of the Droplet create page, look for the Finalize Details section.
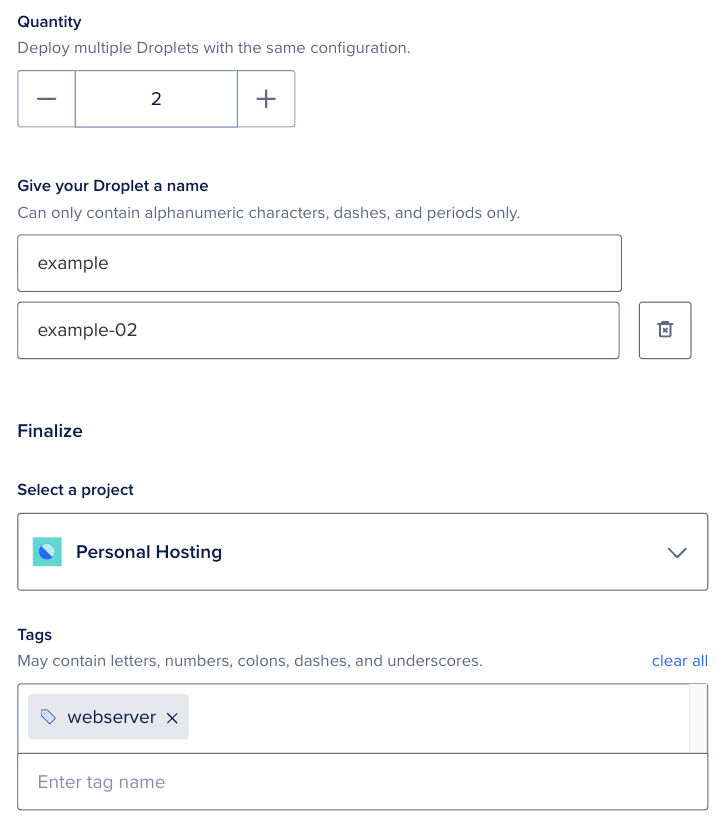
In the Tags field, enter the tags. Add multiple tags by pressing SPACEBAR or ENTER after each term. Navigate between tags with the arrow keys, and remove the highlighted tag with DELETE or the last tag on the list with BACKSPACE.
Automate Tagging
When tagging a Droplet via API, you need to have already created a tag. This is not necessary when using doctl, the CLI.