Deleting a Droplet permanently and irreversibly destroys the Droplet. Optionally, you can also destroy a Droplet and its associated snapshots, volumes, and volume snapshots.
To save one or more of the backup images, convert the backup into a snapshot before deleting the Droplet.
Destroying a Droplet does not destroy its automated backups. Automated backups remain for four weeks after creation and then expire. To save backup images, convert the backups into snapshots.
Destroy a Droplet from the Control Panel
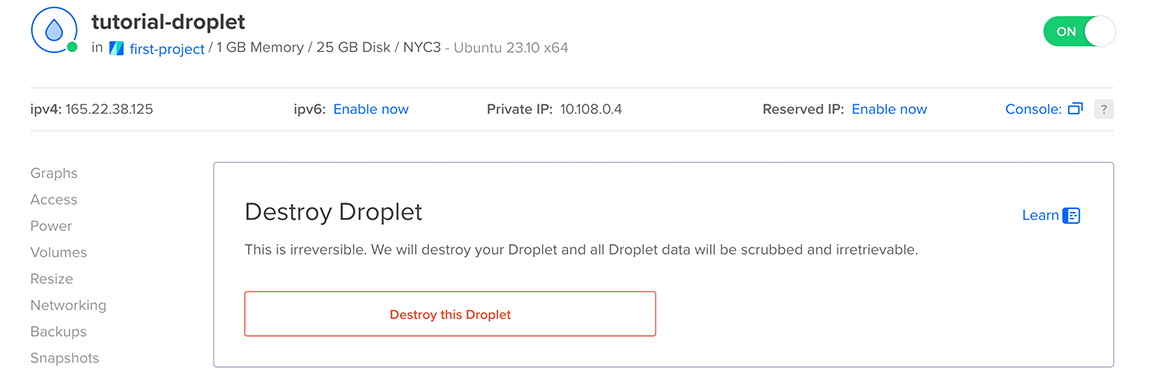
To destroy a Droplet from the control panel, open the Droplet’s More menu and click Destroy. Alternately, you can click the Droplet’s name to access its main page and select Destroy from the left menu.
On the Destroy page, in the Destroy Droplet section, click the Destroy the Droplet button.
In the confirmation window that opens, you can choose to destroy the Droplet. If the Droplet has associated resources, you can also choose to delete some or all of them, but they are not destroyed by default.
Check the boxes next to any of the Droplet’s associated snapshots, volumes, or volume snapshots that you would like to destroy along with the Droplet.
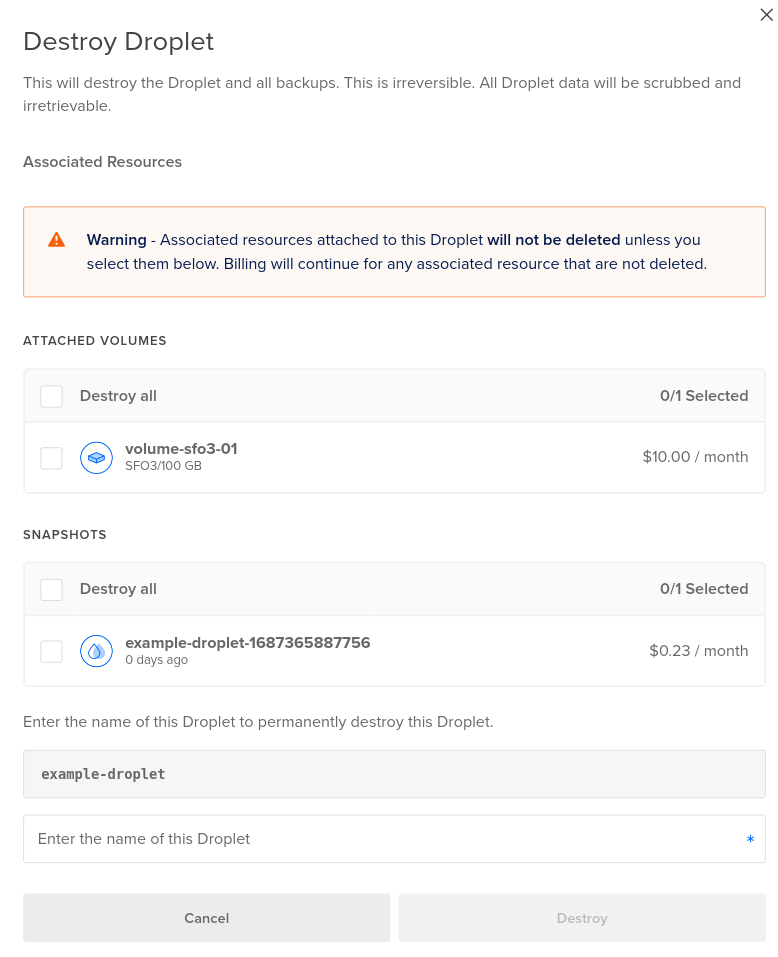
Type the name of the Droplet in the text field, then click Destroy to destroy the Droplet and any selected associated resources.
Any resources that you do not destroy appear in their respective category in the control panel’s Manage section.
Automate the Destruction of a Droplet
How to Permanently Delete a Droplet Using the DigitalOcean CLI
- Install
doctl, the official DigitalOcean CLI.
- Create a personal access token and save it for use with
doctl.
- Use the token to grant
doctl access to your DigitalOcean account.
- Finally, run
doctl compute droplet delete. Basic usage looks like this, but you can read the usage docs for more details:
doctl compute droplet delete <droplet-id|droplet-name>... [flags]
386734086:
doctl compute droplet delete 386734086
How to Delete an Existing Droplet Using the DigitalOcean API
- Create a personal access token and save it for use with the API.
- Send a DELETE request to
https://api.digitalocean.com/v2/droplets/{droplet_id}.
cURL
Using cURL:
curl -X DELETE \
  -H "Content-Type: application/json" \
  -H "Authorization: Bearer $DIGITALOCEAN_TOKEN" \
  "https://api.digitalocean.com/v2/droplets/3164494"
Go
Using Godo, the official DigitalOcean API client for Go:
import (
    "context"
    "os"

    "github.com/digitalocean/godo"
)

func main() {
    token := os.Getenv("DIGITALOCEAN_TOKEN")

    client := godo.NewFromToken(token)
    ctx := context.TODO()

    _, err := client.Droplets.Delete(ctx, 3164494)
}
Ruby
Using DropletKit, the official DigitalOcean API client for Ruby:
require 'droplet_kit'
token = ENV['DIGITALOCEAN_TOKEN']
client = DropletKit::Client.new(access_token: token)

client.droplets.delete(id: 3164494)
Python
Using PyDo, the official DigitalOcean API client for Python:
import os
from pydo import Client

client = Client(token=os.environ.get("DIGITALOCEAN_TOKEN"))

resp = client.droplets.destroy(droplet_id=553456)
How to Destroy a Droplet and All of Its Associated Resources (Dangerous) Using the DigitalOcean API
- Create a personal access token and save it for use with the API.
- Send a DELETE request to
https://api.digitalocean.com/v2/droplets/{droplet_id}/destroy_with_associated_resources/dangerous.
cURL
Using cURL:
curl -X DELETE -H "X-Dangerous: true" \
  -H "Authorization: Bearer $DIGITALOCEAN_TOKEN" \
  "https://api.digitalocean.com/v2/droplets/187000742/destroy_with_associated_resources/dangerous"
Python
Using PyDo, the official DigitalOcean API client for Python:
import os
from pydo import Client

client = Client(token=os.environ.get("DIGITALOCEAN_TOKEN"))

resp = client.droplets.destroy_with_associated_resources_dangerous(droplet_id=524512)