How to Migrate Valkey Databases
Validated on 24 Apr 2025 • Last edited on 13 Jan 2026
Valkey is a high-performance, open-source database that stores key-value data in memory, and is designed for caching, message queues, and primary database use. Fully compatible with Redis, Valkey serves as a drop-in replacement.
You can migrate existing on-premise or cloud hosted Valkey databases to clusters in your DigitalOcean account. Migrating a database establishes a connection with an existing database and replicates its contents to the new database cluster. If the existing database is continuously being written to, the migration process continues until there is no more data to replicate or you manually stop the migration.
We do not currently support migrating managed database clusters on DigitalOcean to other managed database clusters on DigitalOcean using continuous migration. For example, you cannot migrate a managed database cluster from one DigitalOcean account to another. However, you can migrate with a dump.
Prerequisites
To migrate an existing database to a DigitalOcean database cluster, you need to reference the source database’s connection credentials and to disable or update any firewalls between the databases.
Reference Source Database’s Credentials
Before migrating an existing database, you need the following information about the source database:
- Hostname or connection string - The public hostname, connection string, or IP address used to connect to the database.
- Port - The port used to connect to the database. DigitalOcean clusters connect on port
25061by default. - Username - The username used to connect to the database. The username should have sufficient permissions to access the data you want to migrate.
- Password - The password used to connect to the database.
Reference your database provider’s documentation for details on how to locate this information.
Update or Disable Firewalls
To migrate an existing database, you also need to update or temporarily disable any firewalls protecting the databases to allow the databases to connect to each other.
To do this on the target DigitalOcean database, we recommend you add the source database to its trusted sources. Alternatively, you can remove all trusted sources from the database cluster, exposing it to the public internet.
For the source database outside of DigitalOcean, you may need to update or temporarily disable any firewalls protecting the database before attempting migration. Please refer to your database provider’s documentation to see how to do this.
Migrate a Database Using the API
Migrate a Database Cluster Using the Control Panel
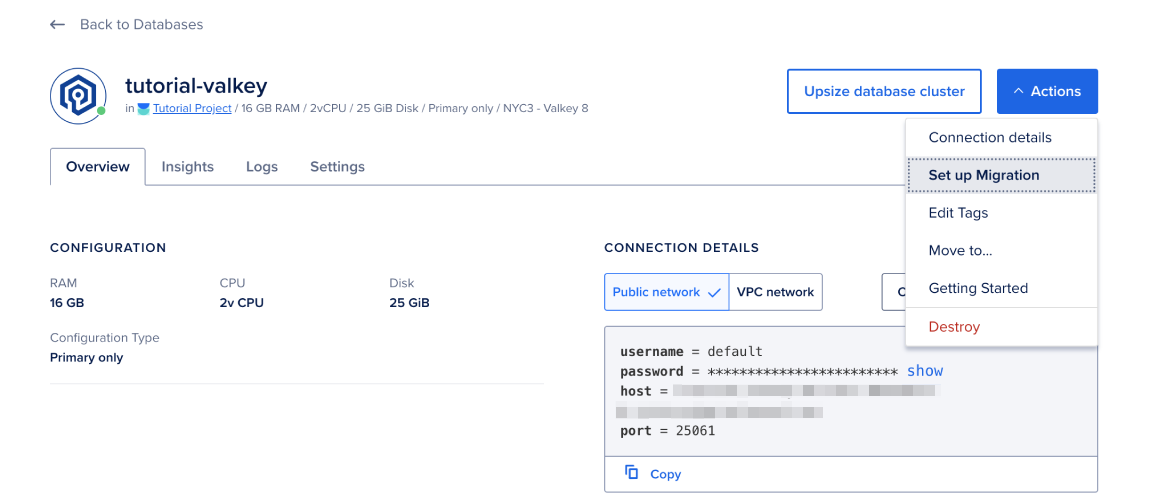
To migrate a Valkey database from the DigitalOcean Control Panel, click Databases and then select the database you want to migrate to from your list of databases.
From the database’s Overview page, click the Actions button and then select Set Up Migration.
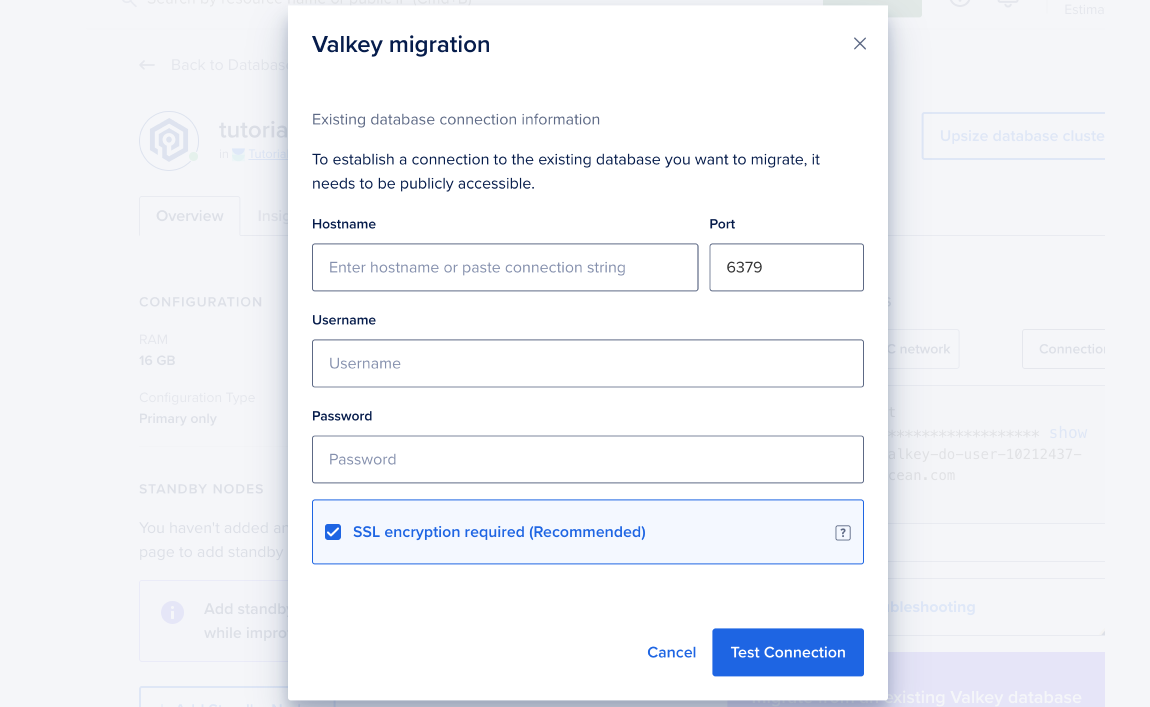
In the Valkey migration window, click Continue, then enter the source database’s credentials. Once you have entered the source database’s credentials, click Start Migration. A migration status banner opens at the top of the Overview page and your target database’s data begins to transfer.
You can stop the migration at any time by clicking the Stop Migration button in the migration status banner. If you stop migration, the database retains any migrated data.
Migrations automatically stop after two weeks. We do not recommend leaving migrations ongoing in order to keep two database clusters in sync.
During migration, you can still write to the target database, but avoid the following actions because they may result in conflicts and replication issues:
- Do not manually alter the source database’s replication configuration.
- Do not make changes to either database that could prevent the source and target database from connecting with each other. This includes updating or enabling firewalls/trusted sources on either database.