Permissions for Custom Roles
A list of all permissions available for custom roles.
Validated on 23 Jun 2025 • Last edited on 5 Feb 2026
A custom role is a new role you can create on a team that includes only the permissions you choose.
After you create a custom role, you can assign team members to that role to grant them the role’s permissions. You can also modify the permissions of a custom role after you create it.
To create a new custom role for a team, first switch to that team in the control panel. Click the team icon in the top right and, in the drop-down menu that opens, click Switch Teams and then click the team you want to use.
In the left menu, click Settings to go to the team settings page, then click the Role Access tab.
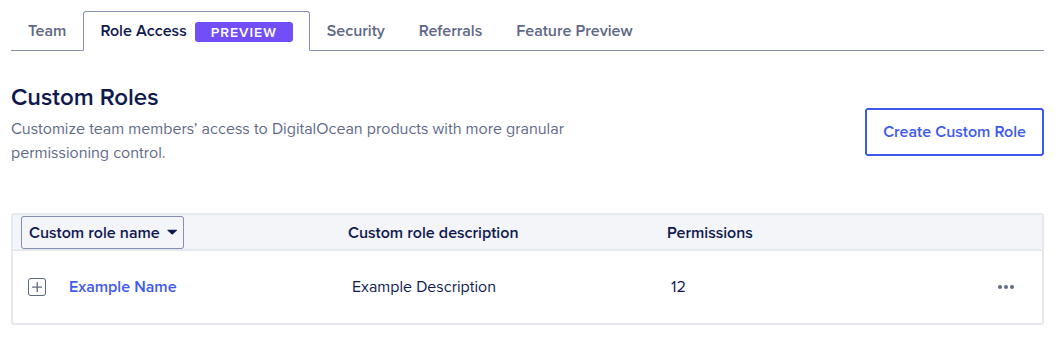
Click Create Custom Role to go to the custom role creation page. Creating a custom role has three steps:
Create new role, where you define the role’s name, description, and permissions
Related permissions, where you can optionally add additional permisisons that we suggest based on
Assign role, where you optionally assign team members to the new custom role
In the Configure your custom role section, enter a name and description for the custom role. These will both be visible to all team members.
In the Permissions section, choose the permissions you want the role to have. You can also view a full list of all permissions available to custom roles here:
A list of all permissions available for custom roles.
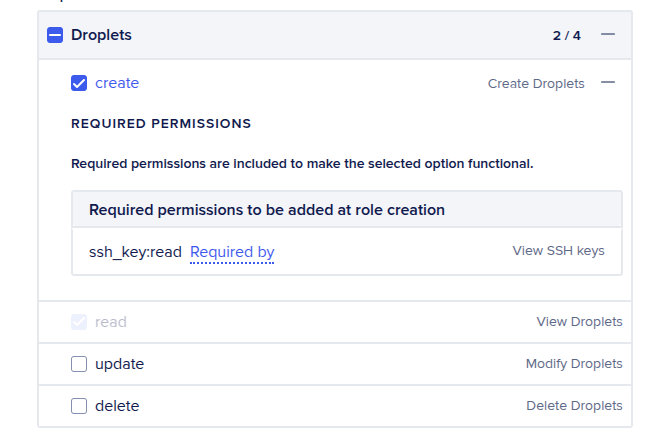
When you select a non-read permission for a resource type, the read permission for that resource type is also required, so we automatically include it. Other required permissions are displayed under the + to the right of the requiring permission.
For example, when you select the permission to create Droplets (droplet:create), the permission to read SSH keys (ssh_key:read) is also required, and the permission to read Droplets (droplets:read) is automatically selected:
The Summary section in the top right of the custom role create page lists the permissions you’ve chosen so far. Review the permissions and, when you’re ready, click Continue. If there are additional required permissions necessary, a window opens to confirm the addition of those permissoins.
In the Related permissions section, you can optionally add additional permissions that we suggest based on the existing permissions you chose for the role.
These permissions are not required, and you do not need to add any of them in order for the existing permissions to work.
Select any related permissions you want to add, then click Continue. Alternatively, to skip all remaining optional setup, click Skip and save custom role to save the role immediately and return to the Role Access tab.
In the Assign role section, you can select existing team members to change their role to the new custom role once it’s created.
Select any team members you want to use this role, then click Assign team members. Alternatively, click Skip and save custom role.
After you create the custom role, you can assign custom roles to new and existing team members the same way you can assign predefined roles. For more detailed instructions, see How to Manage Team Membership.
You can edit and delete custom roles on the Role Access tab. To the right of the custom role, click …. In the menu that opens, click either Edit custom role or Delete.
Editing a custom role brings you to a page with the same layout as the custom role creation page where you can change the role name, description, and permissions.
Deleting a custom role opens a window that prompts you to enter the custom role name to confirm the deletion.
Try using different keywords or simplifying your search terms.