How to Upload Custom Images
Validated on 25 Aug 2020 • Last edited on 10 Dec 2025
Custom images are Linux and Unix-like images you import to DigitalOcean. You can create Droplets based custom images, which lets you migrate and scale your workloads without spending time recreating your environment from scratch.
Image Requirements
Images you upload to DigitalOcean must meet the following requirements:
-
Operating system. Images must have a Unix-like OS.
-
File format. Images must be in one of the following file formats:
- Raw (
.img) with an MBR or GPT partition table - qcow2
- VHDX
- VDI
- VMDK
- Raw (
-
Size. Images must be 100 GB or less when uncompressed, including the filesystem.
-
Filesystem. Images must support the ext3 or ext4 filesystems.
-
cloud-init. Images must have cloud-init 0.7.7 or higher, cloudbase-init, coreos-cloudinit, ignition, or bsd-cloudinit installed and configured correctly. If your image’s defaultcloud-initconfiguration lists theNoClouddata source before theConfigDrivedata source, Droplets created from your image will not function properly. -
SSH configuration. Images must have
sshdinstalled and configured to run on boot. If your image does not havesshdset up, you will not have SSH access to Droplets created from that image unless you recover access using the Recovery Console.
You can also upload a custom image that meets the above criteria as a compressed gzip or bzip2 file.
You can find cloud-friendly official Unix-like OS images on OpenStack.
Upload a Custom Image using Automation
Upload a Custom Image using the Control Panel
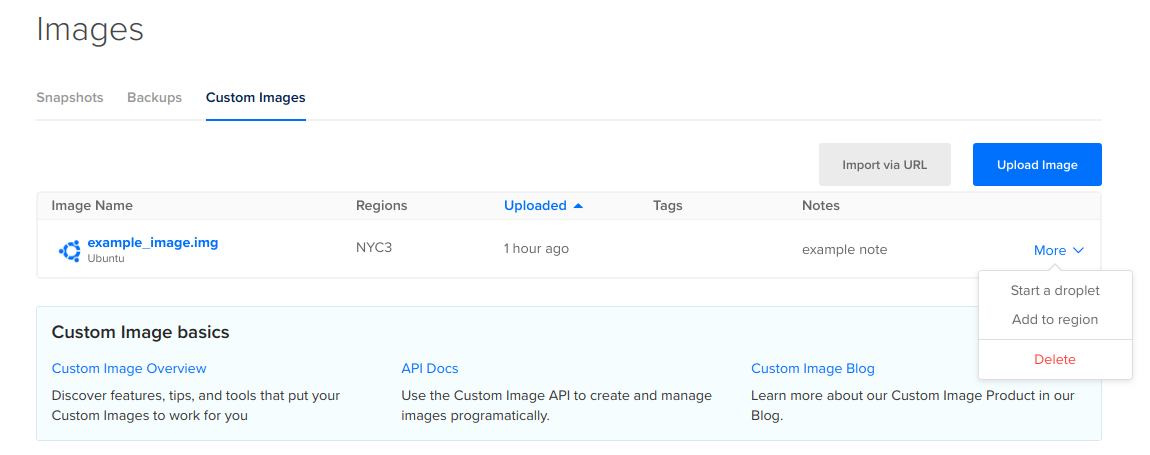
To upload an image via the control panel, in the left menu, click Backups & Snapshots, then click the Custom Images tab.
Here, you can upload a custom image in two ways:
-
You can upload an image file directly by clicking the Upload Image button, which opens a file selector, or by dragging and dropping the image file into the window.
Note Some browsers have file size limitations. If you’re unable to upload a large file via your browser, you can host the file somewhere and upload it by URL. For example, you can upload your image to Spaces and make the file public or use a file sharing tool like Dropbox. Make sure the URL ends in the file extension (likeexample.com/file.rawinstead ofexample.com/file.raw?dl=0). -
You can enter the URL to an image file by clicking the Import via URL button. In the Upload an Image window that opens, enter the URL of the image you want to use in the text field, then click Next. The control panel supports uploads from HTTP, HTTPS, and FTP URLs.
Note Importing a custom image by URL fails if the image is served by a CDN that doesn’t support HEAD requests. If you have trouble importing an image via a URL, try downloading the file and uploading it directly.
Using either upload method, the next window that opens prompts you to enter details about your image.
-
Edit Image Name: This field is pre-filled with the name of the file you uploaded, but you can customize it if you like.
-
Distribution: You can choose from Arch Linux, Fedora, Ubuntu, CentOS, Debian, or Unknown.
-
Choose a datacenter region: Your image is located in a single datacenter of your choice at first, and you can transfer custom images to different datacenters after uploading.
-
Tags (optional): Custom images support tagging. You can add tags to your custom image here or at any time after uploading.
-
Notes (optional): This is a plain text field you can use to enter any additional notes about your custom image for your use.
After you’ve entered these details, click Upload Image. A progress bar appears on the control panel next to the Upload Image button. If you click Details above this progress bar, a window appears listing all of your current uploads.
You can click the X next to any in-progress upload to cancel it, or click Cancel Uploads to cancel all current uploads.
Once you have at least one custom image added to your account, you can create a Droplet from a custom image.