wpcontroller
Generated on 6 Dec 2022 from the wpcontroller catalog page
wpcontroller is a modern WordPress control panel that makes it easy to run fast and secure websites in Docker containers. With wpcontroller, anyone can easily create and manage WordPress websites using its simple web-based interface.
FEATURES
- Add a new WordPress website in seconds
- Create, download, and restore backups of your websites
- Clone your websites to create dev and staging environments
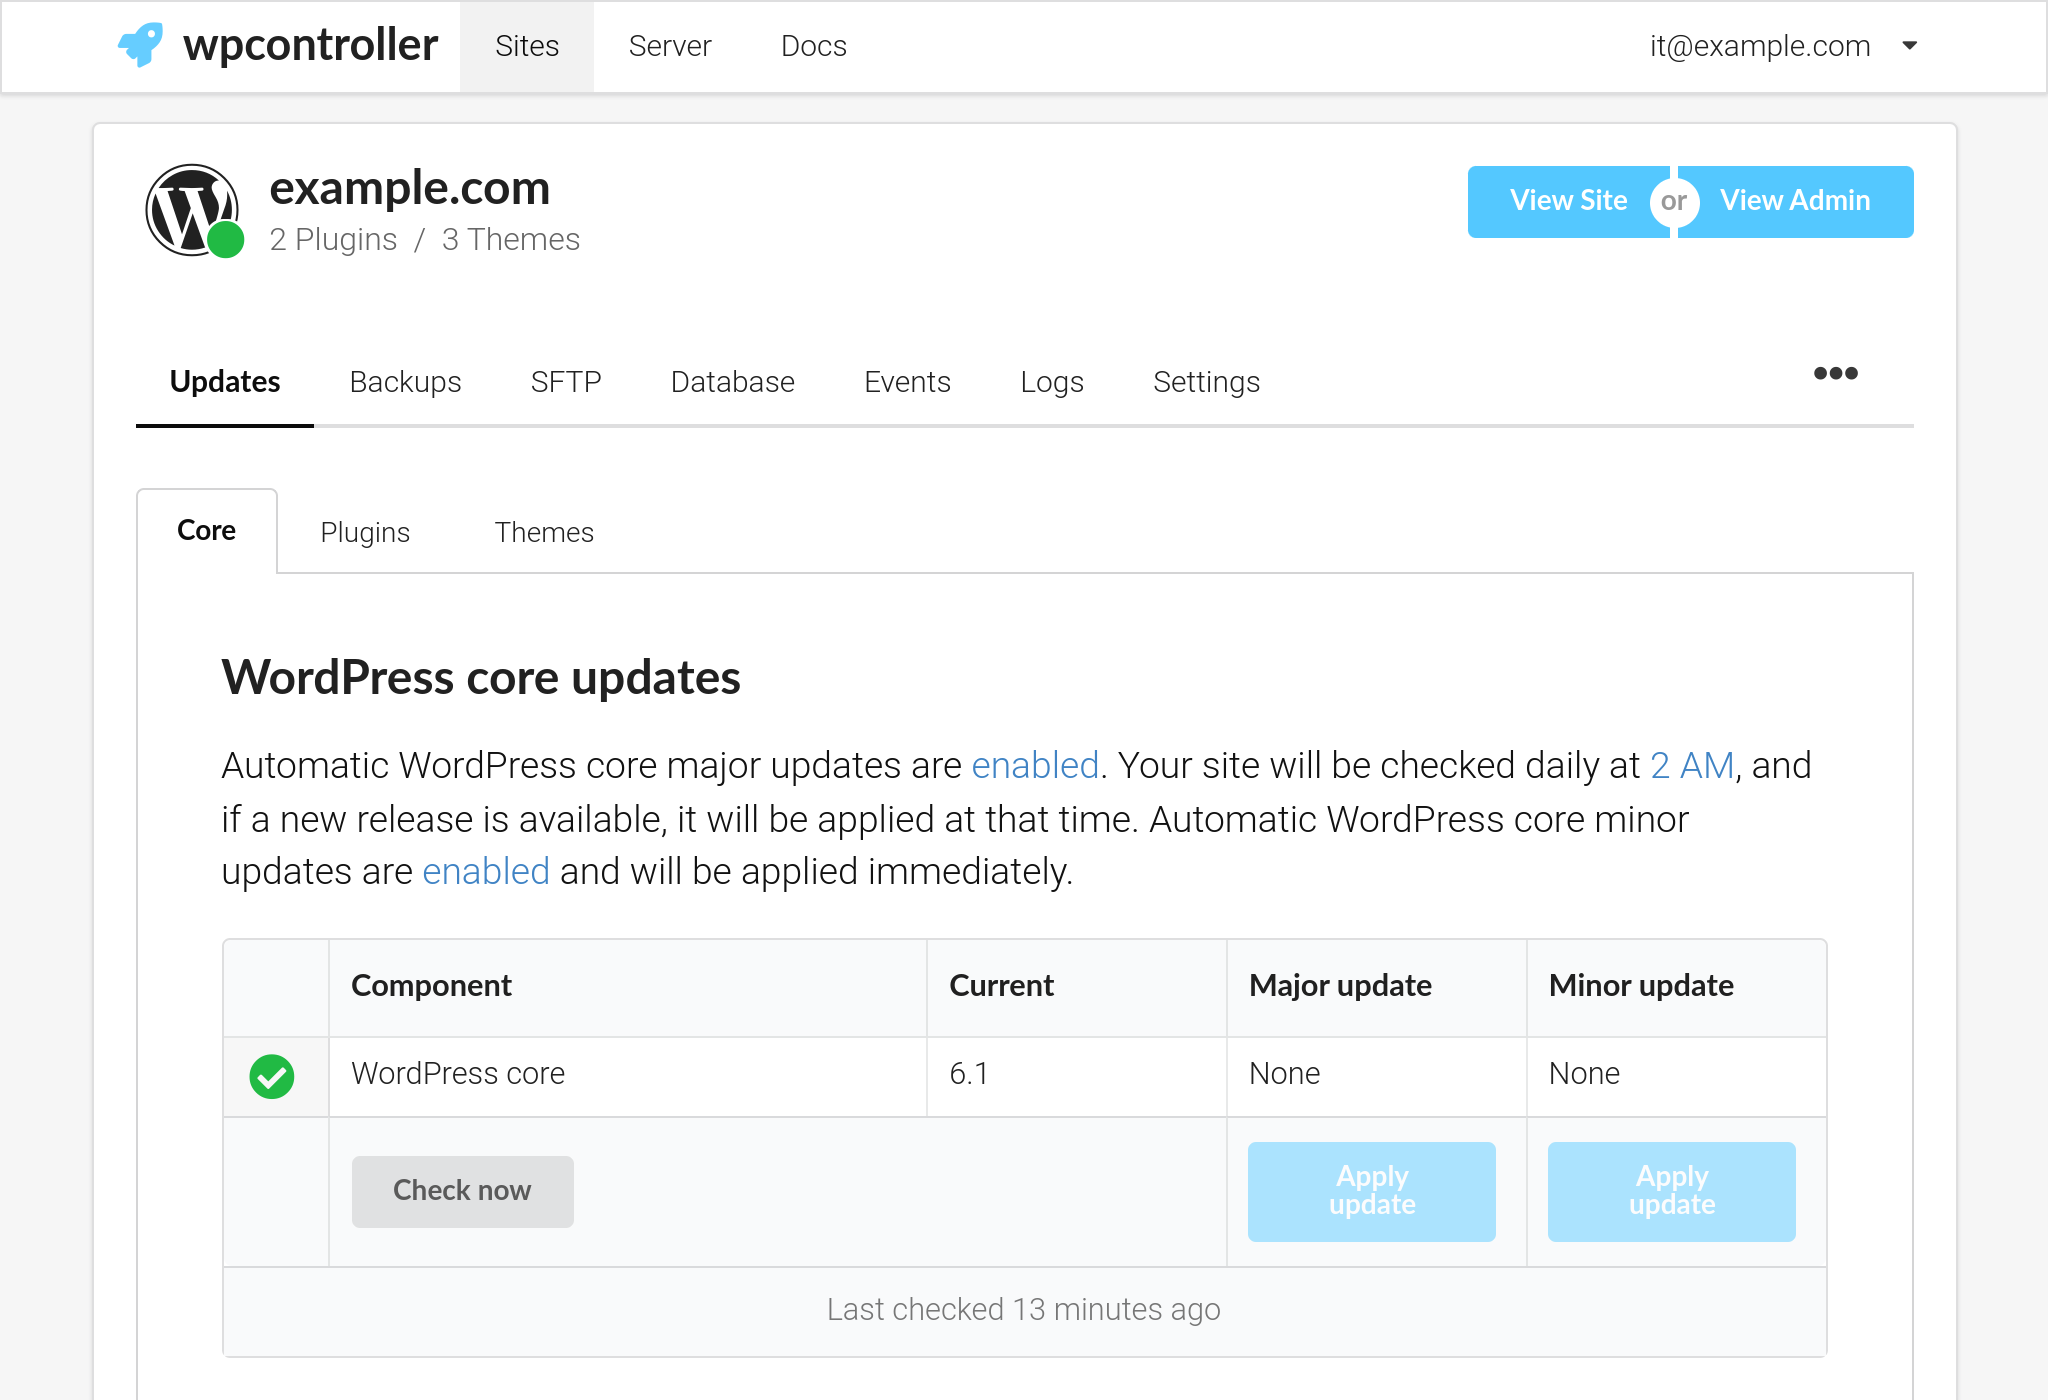
- Keep WordPress core, plugins, and themes up to date
- Manage SFTP access using secure ssh keys
- Reset WordPress user passwords
- Add multiple admins
- Watch WordPress debug logs
- Access WP-CLI via SSH for advanced users
TECHNOLOGY
- Isolated MySQL and PHP containers per site
- Built-in high performance caching web server
- Custom WordPress Web Application Firewall (WAF)
- Modern CLI with auto-complete
- Automatic SSL/TLS certificates
VERSIONS
- WordPress latest
- PHP version 8.x
- MySQL version 8.x
- Ubuntu 22.04
FREE PERSONAL LICENSE
- 1 Site
- 1 Admin
- Basic support
- Free (no credit card required)
PAID PROFESSIONAL LICENSE
- 3 Sites
- 1 Admin
- Priority support
- $6/mo (billed annually)
- Cancel anytime
PAID BUSINESS LICENSE
- Unlimited sites
- Unlimited admins
- Priority support
- $14/mo (billed annually)
- Cancel anytime
Software Included
This Marketplace listing does not include a detailed software list.
Creating an App using the Control Panel
Click the Deploy to DigitalOcean button to create a Droplet based on this 1-Click App. If you aren’t logged in, this link will prompt you to log in with your DigitalOcean account.

Creating an App using the API
In addition to creating a Droplet from the wpcontroller 1-Click App using the control panel, you can also use the DigitalOcean API. As an example, to create a 4GB wpcontroller Droplet in the SFO2 region, you can use the following curl command. You need to either save your API access token to an environment variable or substitute it in the command below.
curl -X POST -H 'Content-Type: application/json' \
         -H 'Authorization: Bearer '$TOKEN'' -d \
        '{"name":"choose_a_name","region":"sfo2","size":"s-2vcpu-4gb","image":"warpspeedvpn-wpcontroller"}' \
        "https://api.digitalocean.com/v2/droplets"
Getting Started After Deploying wpcontroller
1. DEPLOY A SERVER
Deploy a wpcontroller server using the wpcontroller Digital Ocean marketplace app.
It is recommended that you deploy a server with 1 GiB memory and at least 1 CPU core for each WordPress web site you will run.
2. OPEN REQUIRED FIREWALL PORTS
Using Digital Ocean Network Firewall, open the required ports:
- Inbound TCP port 22 – SSH and SFTP access, can be restricted by IP address
- Inbound TCP port 80 – Let’s Encrypt TLS certificate verification, must be publicly accessible
- Inbound TCP port 443 – Encrypted site and control panel traffic, must be publicly accessible
3. REGISTER YOUR INSTANCE
Once your server is running, visit https://install.wpcontroller.com and enter the public IP address of your server. It may take 1-3 minutes to become available.
Your server’s public IP: your_droplet_public_ipv4
TROUBLESHOOTING
Check the wpcontroller log:
sudo less /var/log/wpcontroller.logCheck the wpcontroller systemd journal:
sudo journalctl --unit wpcontrollerCheck the wpcontroller installer systemd journal
sudo journalctl --unit run-wpcontroller-installerNEED HELP?
- Search the official wpcontroller docs
- Contact support by sending an email to [email protected] and we’ll be happy to help!