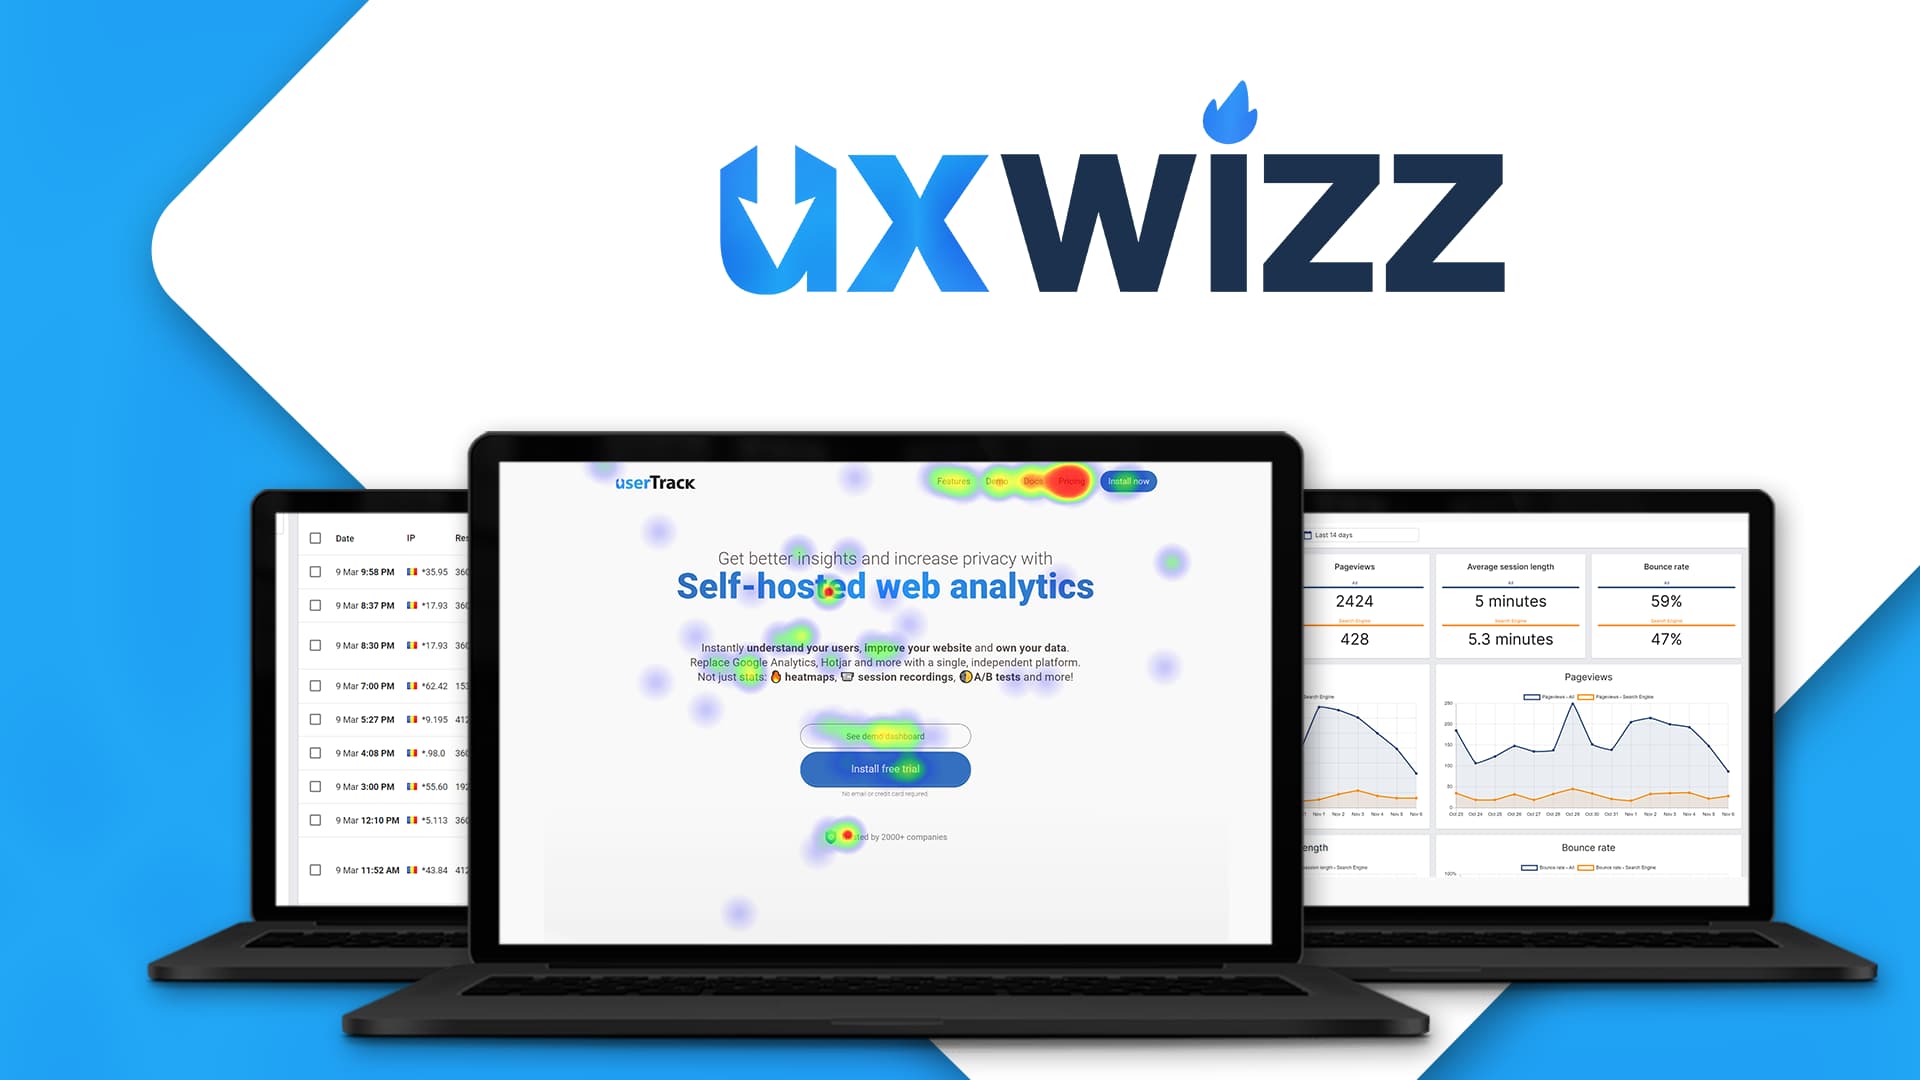
UXWizz
Generated on 9 Jan 2025 from the UXWizz catalog page
UXWizz - Self-hosted Web Analytics Platform
UXWizz is a self-hosted website analytics platform that runs entirely on your server.
The platform runs on a simple and easy to maintain stack: Apache, PHP and MySQL (MariaDB).
Understand your visitors and improve your website while keeping 100% of your data.
Features
- Visitor stats and charts
- Session recordings
- Heatmaps
- Visitor journey
- User segments (filters)
- User tags/labels
- Event system
- A/B testing
- Ask AI - ChatGPT integration
- Multi-domain: track all your domains in a single dashboard
- Multi-user: add UXWizz users that have access only to specific domains.
- And much more!

14 Days Free Trial
This 1-Click app comes with a free 14 days trial license of UXWizz, after which you can upgrade to a lifetime license.
See available UXWizz licenses and pricing.
Software Included
| Package | Version | License |
|---|---|---|
| PHP | 8.3 | PHP License v3.01 |
| MariaDB | 10.3 | GNU GPL 2 |
| Apache | 2.4.59 | Apache License 2.0 |
Creating an App using the Control Panel
Click the Deploy to DigitalOcean button to create a Droplet based on this 1-Click App. If you aren’t logged in, this link will prompt you to log in with your DigitalOcean account.
Creating an App using the API
In addition to creating a Droplet from the UXWizz 1-Click App using the control panel, you can also use the DigitalOcean API. As an example, to create a 4GB UXWizz Droplet in the SFO2 region, you can use the following curl command. You need to either save your API access token) to an environment variable or substitute it in the command below.
curl -X POST -H 'Content-Type: application/json' \
         -H 'Authorization: Bearer '$TOKEN'' -d \
        '{"name":"choose_a_name","region":"sfo2","size":"s-2vcpu-4gb","image": "tips4designsrl-uxwizz"}' \
        "https://api.digitalocean.com/v2/droplets"
Getting Started After Deploying UXWizz
It is recommended that you set up the domain name before the first access.
First access
Important Note: If you see a screen asking you to set up your database, wait a few more minutes until the database creation has completed and refresh the page. You should see a screen asking you to choose your admin password
You can access your dashboard at http://your_droplet_public_ipv4 to set your admin password.
Login with the username admin and your chosen password.
Using your own domain
-
Point your domain name to the UXWizz dashboard server
For this, you need to add some DNS records on your domain at your registrar.
Add two A records from your domain (or subdomain name) to the IP of your server (you need to add the domain both with and without www).
Replace stats.example.com and IP address with your actual domain name and Droplet IP.
A stats.example.com 123.456.78.9A www.stats.example.com 123.456.78.9 -
Generate a free HTTPS certificate
Access your server’s console and run this command to generate a free HTTPS certificate using certbot (certbot comes pre-installed):
Note: replace
stats.example.comandwww.stats.example.comwith the domain names used in step 1.certbot --apache --agree-tos -d stats.example.com -d www.stats.example.comThere are 3-4 questions you have to respond to in the console after running that command in order for the certificate to be issue
-
Access the dashboard using your new domain name.
You must update your UXWizz dashboard to use the new domain name by going to Settings→Tracking→Server Path and making sure the path is correct by clicking “reset”.
If you have already added any tracking snippets on your websites, also update the included tracking code to use the new domain name.
For more information on dashboard usage and tracking websites, see the UXWizz docs.