Metaverse
Generated on 30 Oct 2024 from the Metaverse catalog page

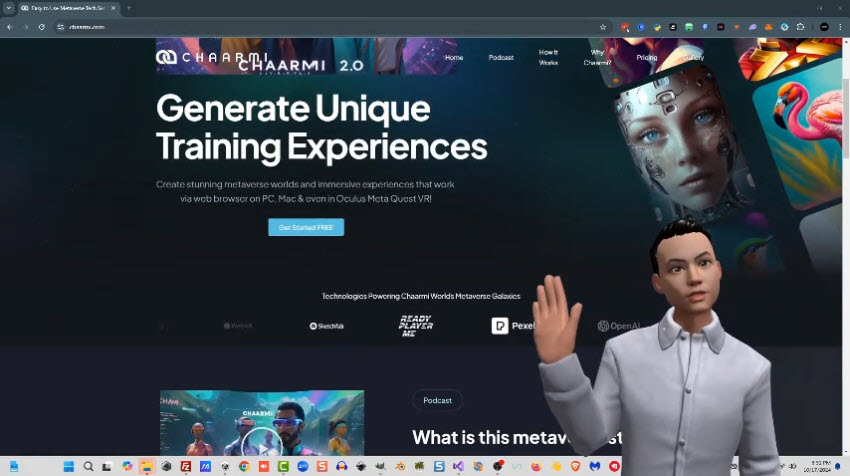
Welcome to Chaarmi Worlds Metaverse Creation System, the FIRST metaverse offering here on Digital Ocean allowing you to build your very own custom metaverse galaxy!
START HERE NOW (YouTube Training) => https://youtu.be/h4mNTYBT0OE
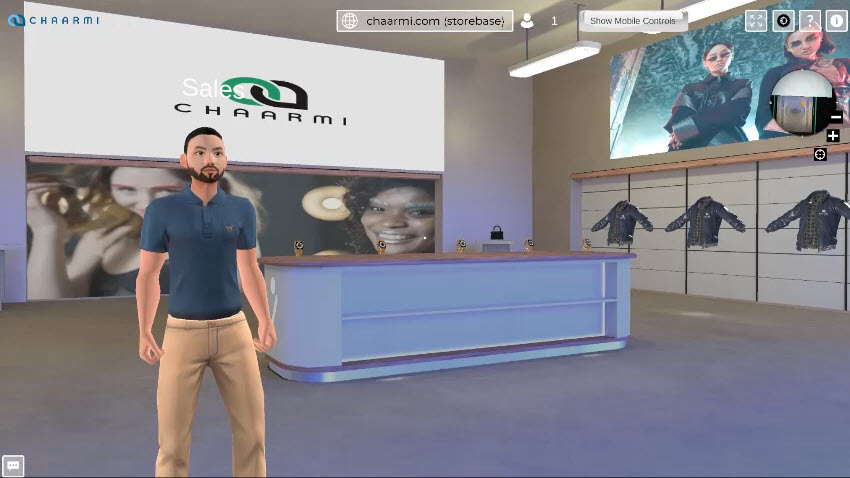
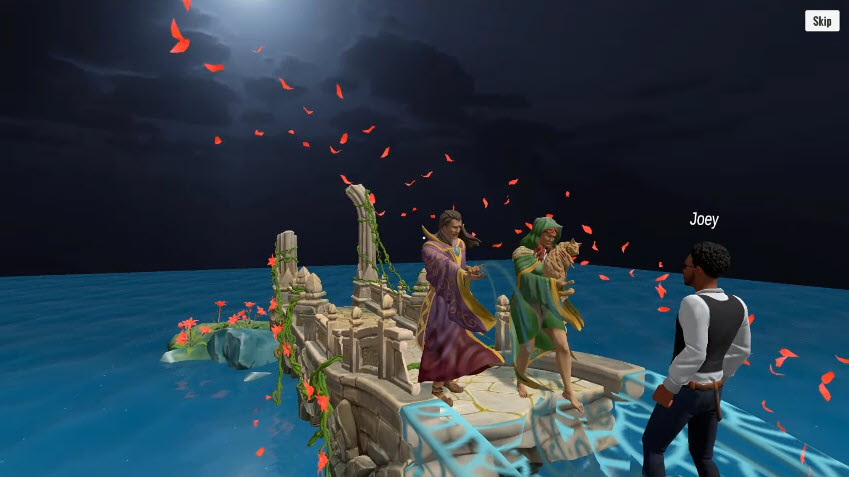
Chaarmi Worlds is a powerful metaverse video game that lives ontop of the current internet. Using a subdomain called metaverse you’ll install your own edition of Chaarmi Worlds which will allow you to then modify the game to create incredible new and unique worlds and immersive experiences that work via Web Browser on PC, Mac and even in Oculus Meta Quest in VR!
Why Chaarmi Worlds?:
Feel the Power of Ownership
Create a metaverse that reflects your unique vision with our self-hosted server. For as low as $6 USD / month on DigitalOcean, you’re not just a participant; you’re the architect of your community’s space, controlling the environment and experience to foster genuine connections.
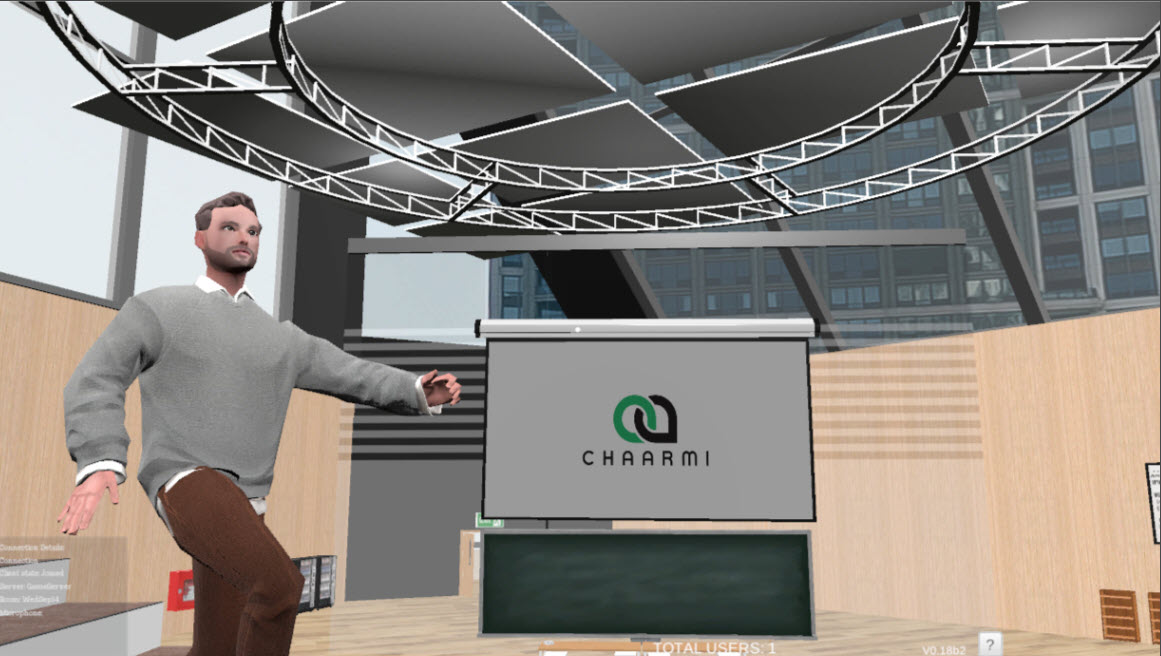
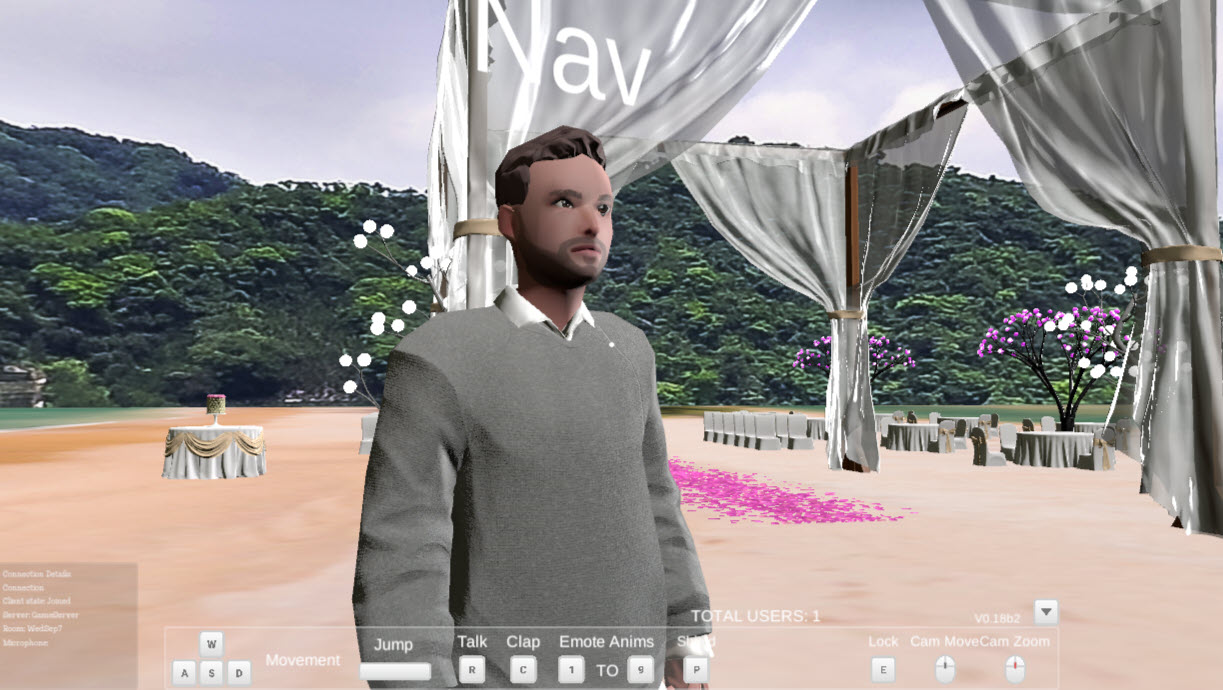
Personalize Your Presence
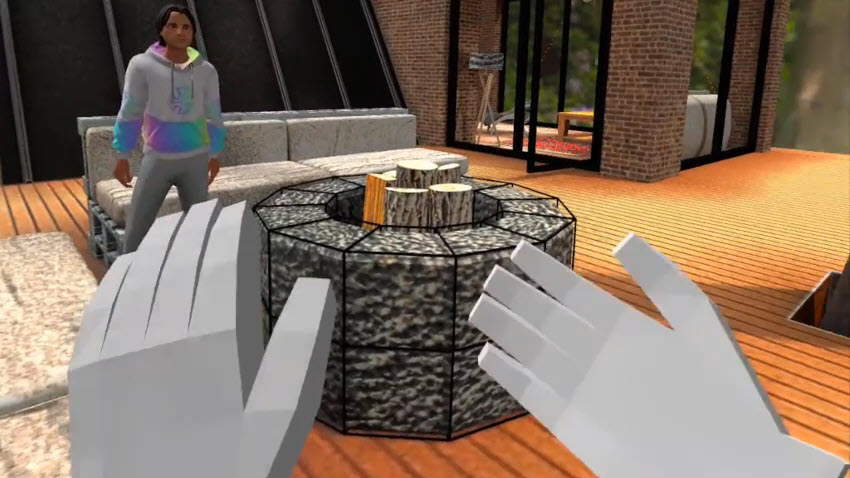
Transform how you connect in the metaverse with our Ready Player Me Avatar system. Create an avatar that truly reflects who you are, with endless options for hair, clothing, and accessories. This personalization not only enhances your experience but also fosters a deeper sense of belonging within your community.
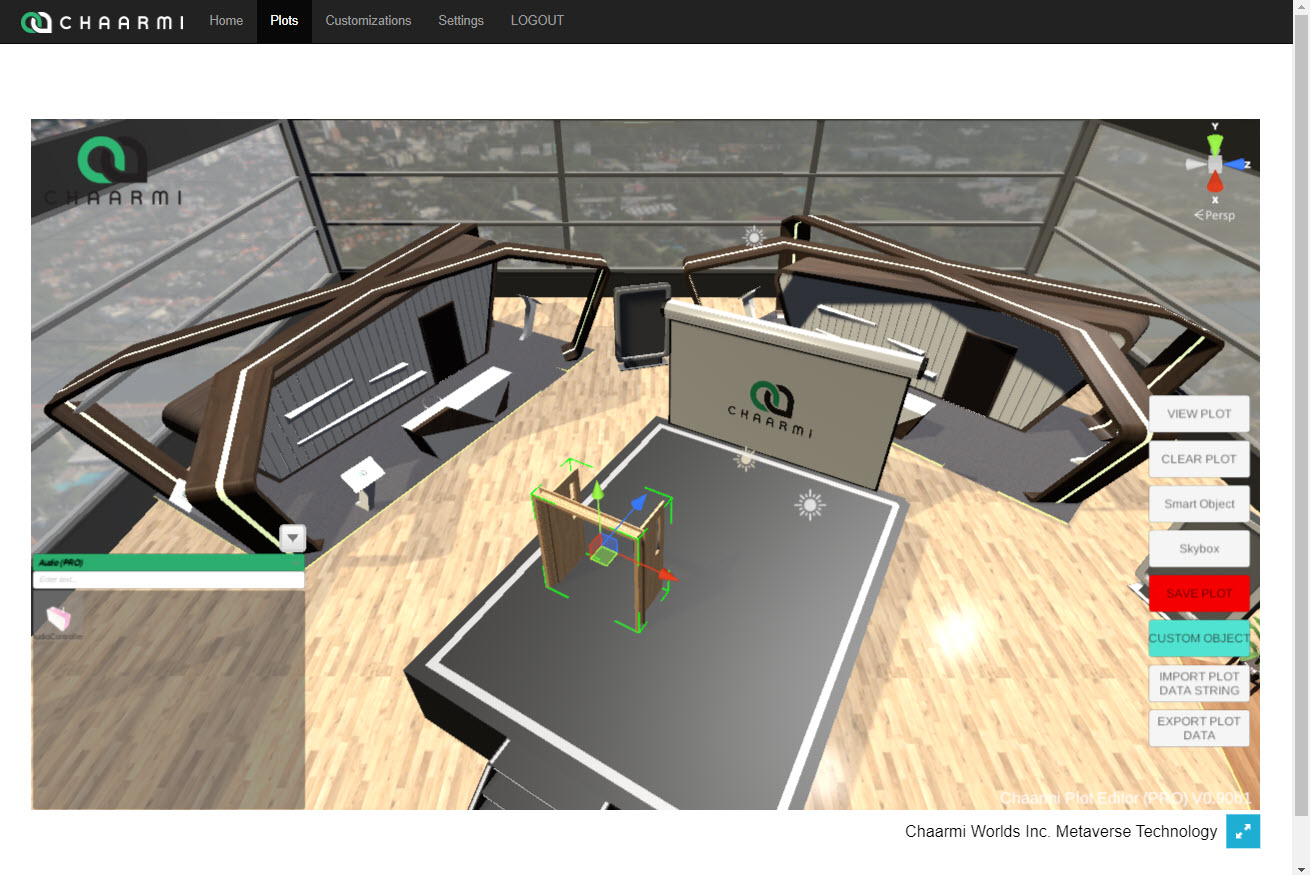
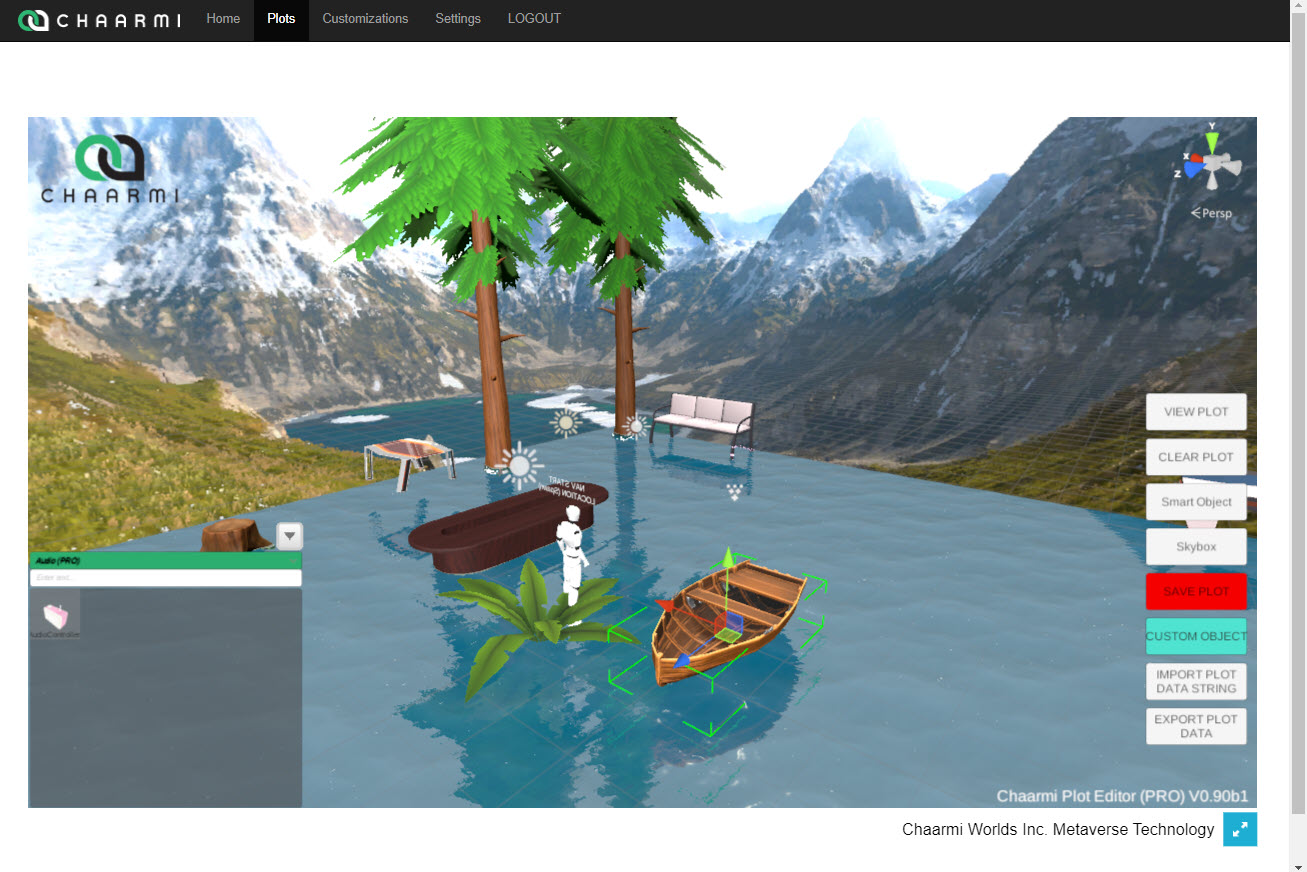
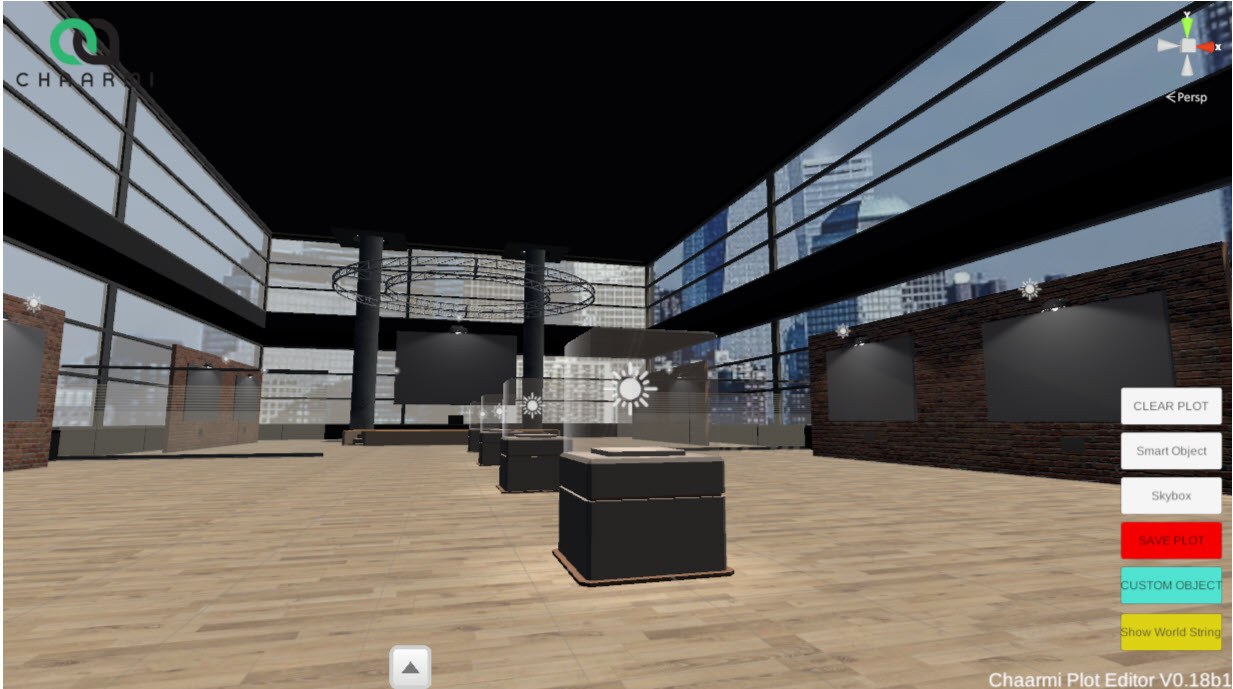
Create Without Limits
Build stunning virtual worlds with our no-code editor, designed for anyone—no experience needed. Empower your creativity without the complexity.
And SO MUCH MORE! Check out all the reasons why you need Chaarmi Worlds here => https://www.chaarmi.com/index.php/features/
Chaarmi Worlds is bringing the metaverse to the masses!
For more information you can email us out at any time at [email protected].

Software Included
| Package | Version | License |
|---|---|---|
| Chaarmi Worlds | v2.00b | Free |
Creating an App using the Control Panel
Click the Deploy to DigitalOcean button to create a Droplet based on this 1-Click App. If you aren’t logged in, this link will prompt you to log in with your DigitalOcean account.

Creating an App using the API
In addition to creating a Droplet from the Metaverse 1-Click App using the control panel, you can also use the DigitalOcean API. As an example, to create a 4GB Metaverse Droplet in the SFO2 region, you can use the following curl command. You need to either save your API access token) to an environment variable or substitute it in the command below.
curl -X POST -H 'Content-Type: application/json' \
         -H 'Authorization: Bearer '$TOKEN'' -d \
        '{"name":"choose_a_name","region":"sfo2","size":"s-2vcpu-4gb","image": "chaarmiworlds-metaverse"}' \
        "https://api.digitalocean.com/v2/droplets"
Getting Started After Deploying Metaverse
CONGRATULATIONS ON YOUR NEW METAVERSE GALAXY!
Welcome to your new Chaarmi Worlds Metaverse Galaxy! We’re so excited to have you with us expanding the metaverse and future 3D internet!
Chaarmi Worlds works in web browsers on PC (Chrome), Mac (Chrome) and Oculus Meta Quest 2 in VR. It is fully interoperable allowing users to jump from plot to plot and is always being updated with new updates based on YOU our users! We are so grateful to have you enter the metaverse!
START HERE NOW (YouTube Training) => https://youtu.be/h4mNTYBT0OE
INSTALL STEPS
BEFORE YOU START
Please visit https://filezilla-project.org/ and download and install FileZilla.
Select Download FileZilla Client (https://filezilla-project.org/download.php?type=client)
We will need to use this FTP software to access our metaverse server for the installation.
PART 1 - Droplet Creation
Step 1.
On your DigitalOcean click on the “Create Metaverse Droplet” button.
Step 2:
Choose a Region (Note: Choose region near to you for best results)
Step 3:
Make sure the right image is selected (It should say “Metaverse vX.XX on Ubuntu”)
Step 4:
- a. Choose Droplet type
- b. Shared CPU
- c. Choose CPU Option
- d. Premium Intel OR Premium AMD with NVME SSD
- e. Select 1 GB Option (Approx. $6-8 USD per month)
Step 5:
In the Authentication Method section select the password method.
Step 6:
Create your root password (Note: Please make note of this password and save it for later use. You can change this in the future in Ubuntu via Linux commands)
Step 7:
Enter tag name “metaverse” (NOTE: This can be anything you like, we use metaverse for easily identifying your new droplet)
Step 8:
Click create droplet
PART 2 - Add an “A” Record to Domain
Step 1:
Go to your domain name provider and add a new “A” record as follows:
- In your Domain Name provider, click on the domain name you want to add an “A” record to.
- Go to DNS management
- Select “A” record
- Add “A” record with the following details:
- Host name: metaverse
- Destination ipv4 address: Enter droplet ip address (http://your_droplet_public_ipv4)
- TTL : 28800 (Or system default)
- Click “add record”
Step 2:
Log back into your DigitalOcean Control Panel
Step 3:
Now wait for while (It can take up to 24 hours) to get domain record updated from your Domain Provider. Open a web console view of your server and try to ping your new subdomain by using the following linux command:
ping metaverse.yourdomain.com
When the ping works you can move onto the next part.
PART 3 (While waiting for DNS Propogation) - FileZilla Setup
- Please open FileZilla and select File=>Site Manager
- Now go and get your DigitalOcean Server IP Address from the droplet you created
- Select the New Site button and give your site a name
- In the protocol section dropdown select SFTP
- In the Host section enter your IP address for your server
- For user enter root
- For password, use the password you had entered before when creating your droplet in Part 1 (Your root password)
- Hit the OK button
- Open the Site Manager again and this time select the server and hit connect
- If you get any message for an Unknown Host Key simply hit OK
- If all went well you should be connected to the server
PART 4 - SSH Setup
Step 1:
Open a console if you haven’t already got a console working. To do so, in your DigitalOcean dashboard select your droplet and inside your droplet in the top right you should see a “Console” link. Click on that to open up a console window so you can now write linux commands via command line.
Step 2:
Type in the following command to start setting up your SSH in the root folder:
cd ..
sudo ./setup-ssl.sh
When you get the message for redirect, select 2 to redirect.
Step 3:
When done you should be able to access the install.php link by using a web browser to visit:
https://metaverse.yourdomain.com/install.php
PART 5 - Install Steps
Step 1:
Now enter a VERY powerful password for your database. Please note that this needs to be kept secret as it gives anyone access to your database. To protect your users, all Chaarmi databases are encrypted with AES encryption, so even if someone trys to steal the data, unless they have this password, they cannot decrypt the data.
Step 2:
Click on Test Connection and Step 2 Button. Hit OK to continue.
Step 3:
You need to obtain a PhotonEngine Realtime License key. The free tier is a 20 CCU, and Chaarmi free server supports up to 4 CCU per plot. Get the key by visiting https://www.photonengine.com and setting up a Realtime license.
Step 4:
Come back to the installation and continue to enter in the details including the username you want for your Chaarmi metaverse backend as well as the password and your Admin email.
Step 5:
Click on Finalization and Step 3 button.
Step 6:
Now lets open FileZilla and go to the following folder in your server:
-Double click the two dots to go up to the highest directory
-go to var/www/html
-You should now see a db.php file and the install.php file
-DOWNLOAD the db.php file to your computer
-DELETE the db.php file and install.php file from the server
-GO UP one folder level and you should now see db_connect_info
-Open db_connect_info and then copy the db.php file to that folder
Step 7:
You should now be able to navigate to your backend via the link in the install page or by going directly to:
https://metaverse.yourdomain.com/my-admin/
-Test your FRONTEND by visiting:
https://metaverse.yourdomain.com
If all went well you have successfully installed your metaverse galaxy!
CONGRATULATIONS! Welcome to the Metaverse!
We hope you Enjoy Your New Chaarmi Metaverse Galaxy!
[NOTE: We recommend you take a snapshot in your DigitalOcean backend to make a backup of your current system so anytime you have any issues you can easily restart without having to do all these steps again.]
Admin Panel is available at:https://metaverse.DOMAIN.EXT/my-admin/
NOTE: Please use the username and password you created at setup time.
Access to the base experience at:
(This will take you to your genesis plot which you can update at any time via the backend admin panel)
For further documentation on how to use Chaarmi Worlds please visit https://www.chaarmi.com
Feel free to watch the YouTube training videos at https://www.youtube.com/@Chaarmi/videos