Headlamp
Generated on 28 Jun 2024 from the Headlamp catalog page
Headlamp is an intuitive, web-based Kubernetes dashboard designed to simplify the management of your Kubernetes clusters. With this 1-Click application, you can seamlessly deploy Headlamp on your DigitalOcean Kubernetes cluster, providing you with an easy-to-navigate interface to monitor and manage your cluster’s resources, workloads, and configurations. Headlamp offers real-time insights, resource visualization, and streamlined operations, making it an essential tool for both beginners and experienced Kubernetes users. By installing Headlamp through our 1-Click application, you can save time on setup and focus on optimizing your cluster’s performance and reliability.
Software Included
| Package | Version | License |
|---|---|---|
| Headlamp | 0.20.0 | Apache License 2.0 |
Creating an App using the Control Panel
Click the Deploy to DigitalOcean button to install a Kubernetes 1-Click Application. If you aren’t logged in, this link will prompt you to log in with your DigitalOcean account.

Creating an App using the API
In addition to creating Headlamp using the control panel, you can also use the DigitalOcean API. As an example, to create a 3 node DigitalOcean Kubernetes cluster made up of Basic Droplets in the SFO2 region, you can use the following doctl command. You need to authenticate with doctl with your API access token) and replace the $CLUSTER_NAME variable with the chosen name for your cluster in the command below.
doctl kubernetes clusters create --size s-4vcpu-8gb $CLUSTER_NAME --1-clicks headlampGetting Started After Deploying Headlamp
Getting Started Guide
Step 1: Connect to Your DigitalOcean Kubernetes Cluster
-
Install doctl (DigitalOcean CLI):
- Follow the instructions on the DigitalOcean doctl installation guide.
-
Authenticate doctl:
- Run
doctl auth initand follow the prompts to authenticate with your DigitalOcean account.
- Run
-
Create a Kubernetes context:
- Retrieve your Kubernetes cluster ID using:
sh doctl kubernetes cluster list- Create a context for your cluster:
sh doctl kubernetes cluster kubeconfig save <cluster-id>
Step 2: Access Headlamp Dashboard
-
Retrieve the Headlamp service URL:- Run the following commands to set environment variables and port-forward the service:
sh export POD_NAME=$(kubectl get pods --namespace headlamp -l "app.kubernetes.io/name=headlamp,app.kubernetes.io/instance=headlamp" -o jsonpath="{.items[0].metadata.name}") export CONTAINER_PORT=$(kubectl get pod --namespace headlamp $POD_NAME -o jsonpath="{.spec.containers[0].ports[0].containerPort}") echo "Visit http://127.0.0.1:8080 to use your application" kubectl --namespace headlamp port-forward $POD_NAME 8080:$CONTAINER_PORT- Open your web browser and navigate to
http://127.0.0.1:8080to access the Headlamp dashboard.
- Open your web browser and navigate to
Step 3: Create a Service Account for Headlamp
-
Create a service account and cluster role binding:
- Create a file named
headlamp-service-account.yamlwith the following content:
apiVersion: v1 kind: ServiceAccount metadata: name: headlamp-admin namespace: kube-system --- apiVersion: rbac.authorization.k8s.io/v1 kind: ClusterRoleBinding metadata: name: headlamp-admin roleRef: apiGroup: rbac.authorization.k8s.io kind: ClusterRole name: cluster-admin subjects: - kind: ServiceAccount name: headlamp-admin namespace: kube-system- Apply the configuration using:
kubectl apply -f headlamp-service-account.yaml - Create a file named
-
Generate a token for the service account:
- Retrieve the token with:
sh kubectl create token headlamp --namespace headlamp
Step 4: Connect Headlamp to Your Cluster
- Access the Headlamp Dashboard:- Open your web browser and navigate to
http://127.0.0.1:8080. - Login using the Service Account Token:- Enter the retrieved token from the previous step into the Headlamp login page.
Screenshots
Include the following screenshots:
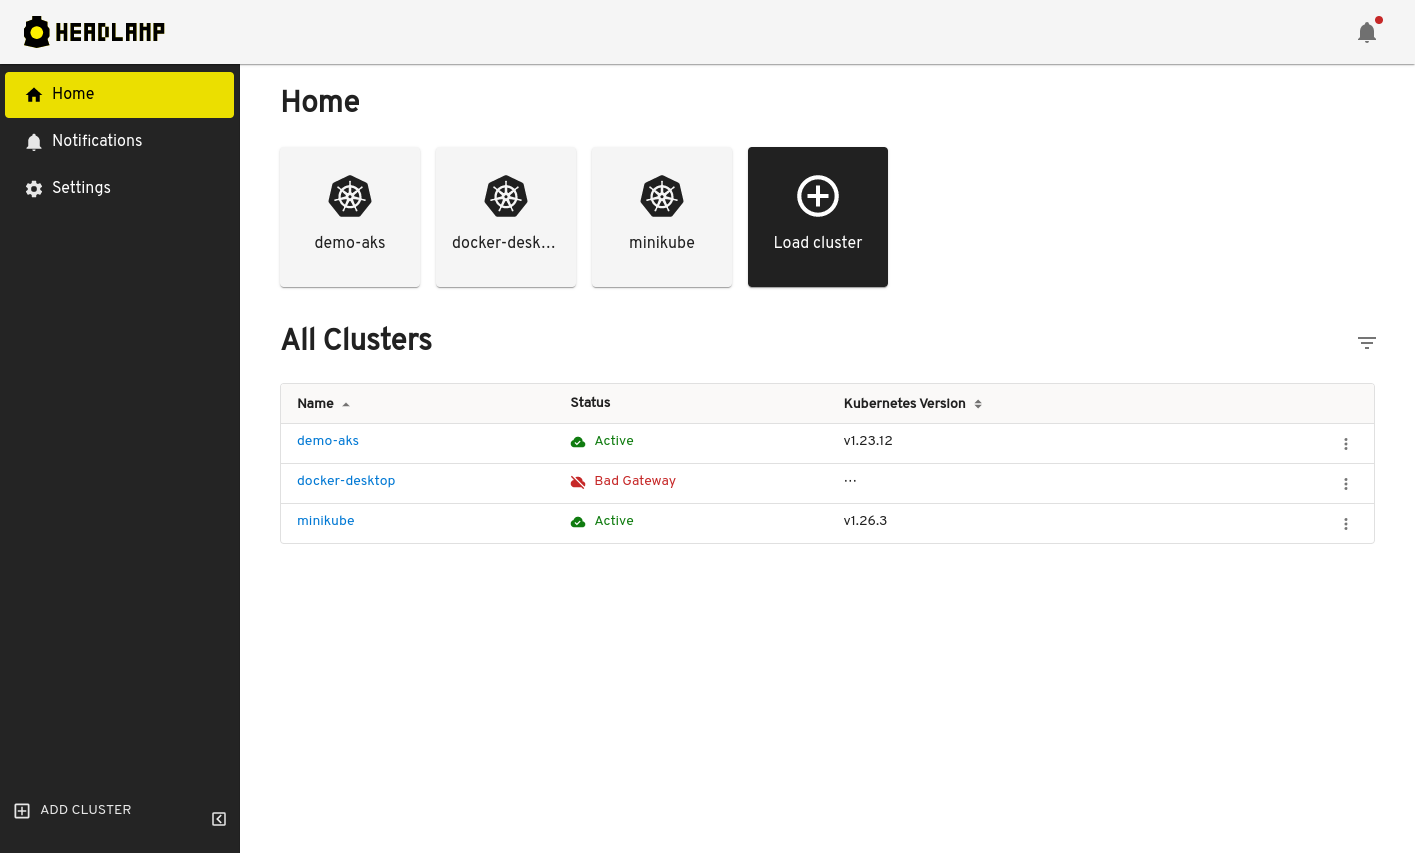
-
Headlamp Dashboard Main Screen:
-
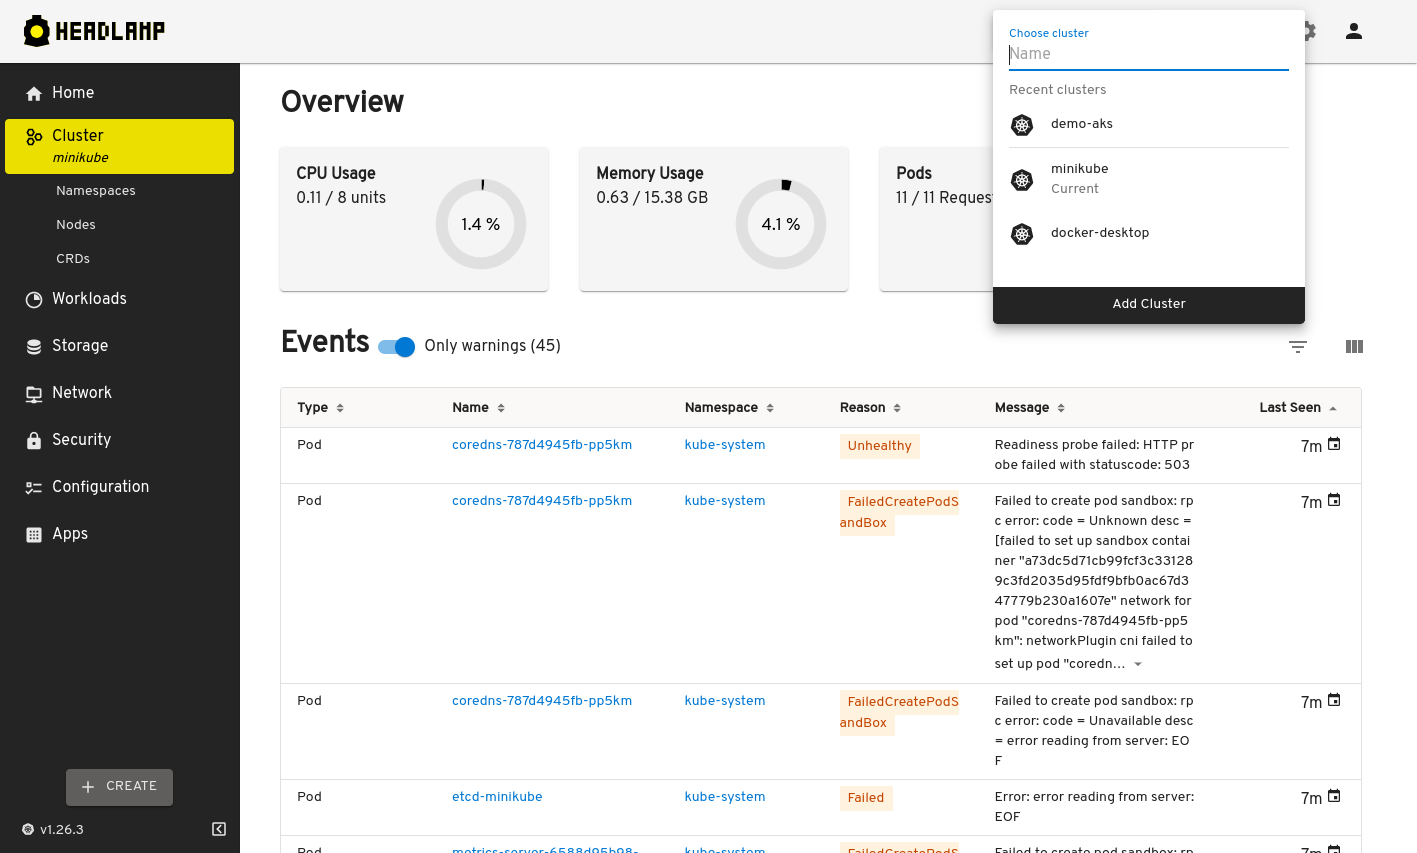
Cluster Chooser:
-
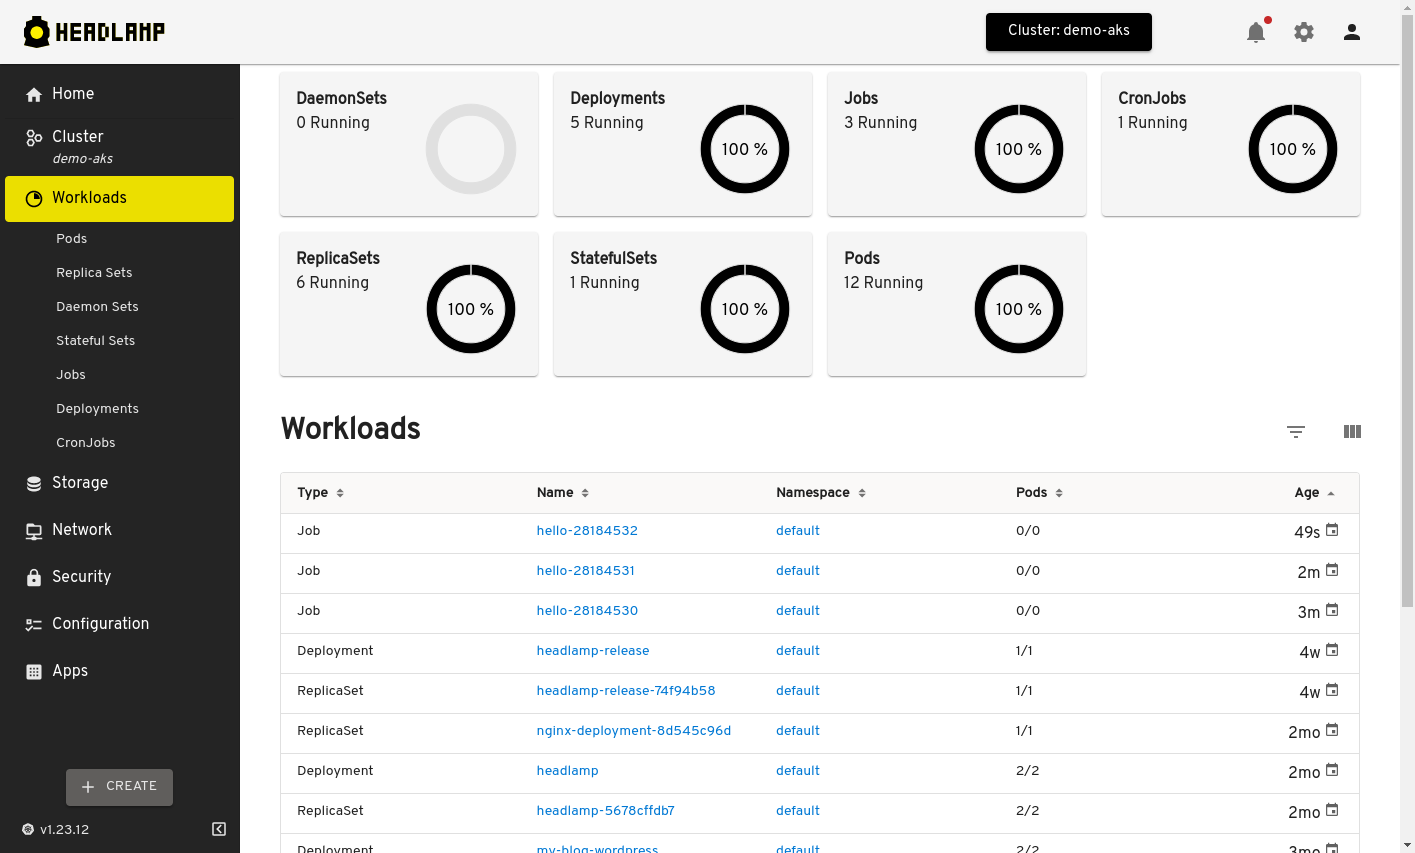
Cluster Overview:
-
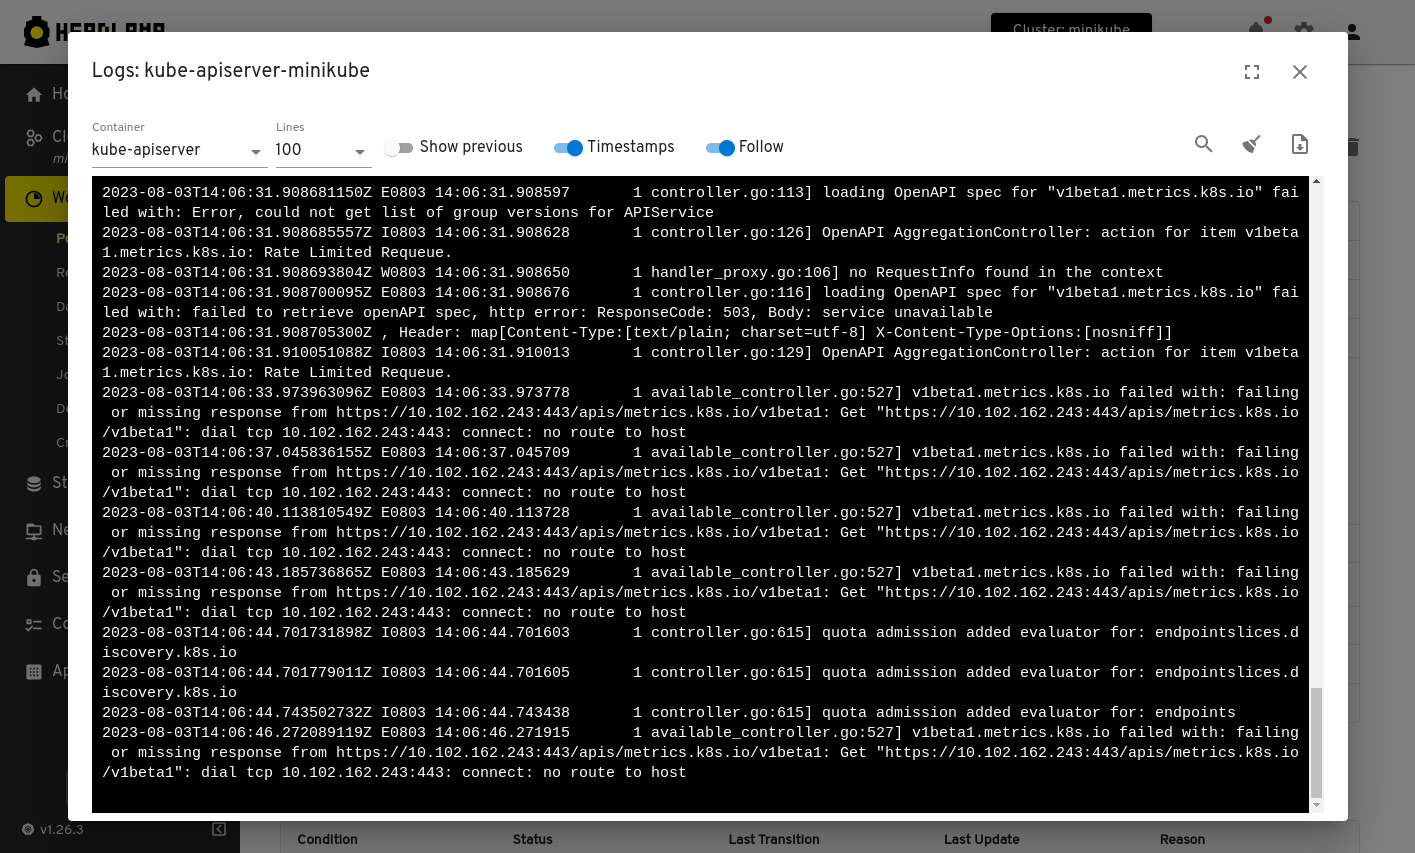
Logs View:
-
Quick Run:
-
Terminal Access:

-
Resource Edition:
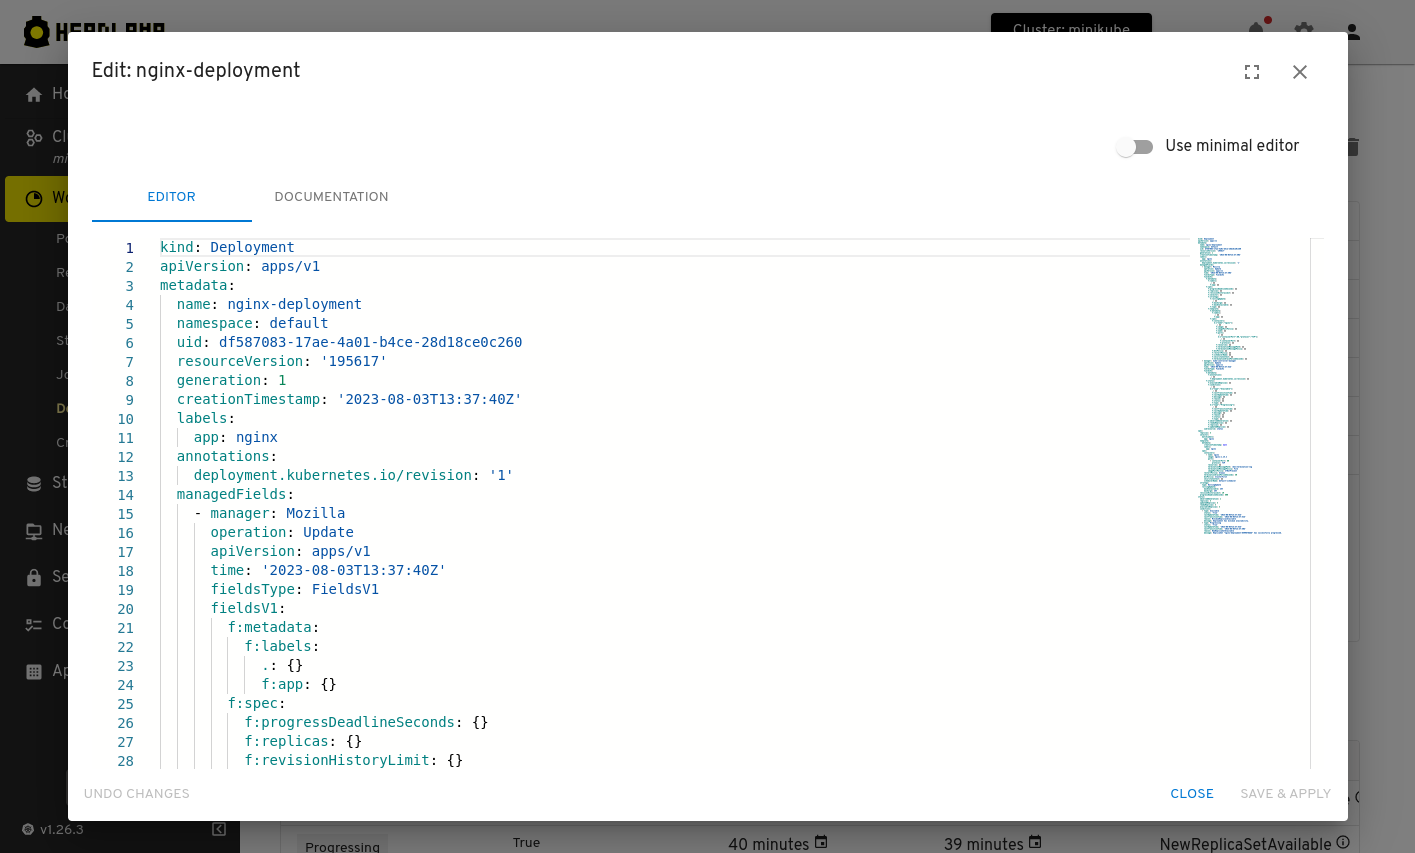
By following these steps, you can effectively manage and monitor your Kubernetes cluster using Headlamp on DigitalOcean. Enjoy streamlined operations and enhanced cluster visibility with this robust 1-Click application.