How to Create a New Droplet From a Backup Using the DigitalOcean CLI
- Install
doctl, the official DigitalOcean CLI.
- Create a personal access token and save it for use with
doctl.
- Use the token to grant
doctl access to your DigitalOcean account.
- Finally, run
doctl compute droplet create. Basic usage looks like this, but you can read the usage docs for more details:
doctl compute droplet create <droplet-name>... [flags]
The following example creates a Droplet named example-droplet with a two vCPUs, two GiB of RAM, and 20 GBs of disk space. The Droplet is created in the nyc1 region and is based on the ubuntu-20-04-x64 image. Additionally, the command uses the --user-data flag to run a Bash script the first time the Droplet boots up:
doctl compute droplet create example-droplet --size s-2vcpu-2gb --image ubuntu-20-04-x64 --region nyc1 --user-data $'#!/bin/bash\n touch /root/example.txt; sudo apt update;sudo snap install doctl'
Please note: In Windows Powershell, the example command would be the following instead:
doctl compute droplet create example-droplet --size s-2vcpu-2gb --image ubuntu-20-04-x64 --region nyc1 --user-data "#!/bin/bash`n touch /root/example.txt; sudo apt update;sudo snap install doctl"
How to Create a New Droplet From a Backup Using the DigitalOcean API
Create a personal access token and save it for use with the API.
cURL
Send a POST request to https://api.digitalocean.com/v2/droplets.
Using cURL:
curl -X POST \
  -H "Content-Type: application/json" \
  -H "Authorization: Bearer $DIGITALOCEAN_TOKEN" \
  -d '{"name":"example.com","region":"nyc3","size":"s-1vcpu-1gb","image":"ubuntu-20-04-x64","ssh_keys":[289794,"3b:16:e4:bf:8b:00:8b:b8:59:8c:a9:d3:f0:19:fa:45"],"backups":true,"ipv6":true,"monitoring":true,"tags":["env:prod","web"],"user_data":"#cloud-config\nruncmd:\n  - touch /test.txt\n","vpc_uuid":"760e09ef-dc84-11e8-981e-3cfdfeaae000"}' \
  "https://api.digitalocean.com/v2/droplets"
Go
Using Godo, the official DigitalOcean API client for Go:
import (
    "context"
    "os"

    "github.com/digitalocean/godo"
)

func main() {
    token := os.Getenv("DIGITALOCEAN_TOKEN")

    client := godo.NewFromToken(token)
    ctx := context.TODO()

    createRequest := &godo.DropletCreateRequest{
        Name:   "example.com",
        Region: "nyc3",
        Size:   "s-1vcpu-1gb",
        Image: godo.DropletCreateImage{
            Slug: "ubuntu-20-04-x64",
        },
        SSHKeys: []godo.DropletCreateSSHKey{
            godo.DropletCreateSSHKey{ID: 289794},
            godo.DropletCreateSSHKey{Fingerprint: "3b:16:e4:bf:8b:00:8b:b8:59:8c:a9:d3:f0:19:fa:45"}
        },
        Backups: true,
        IPv6: true,
        Monitoring: true,
        Tags: []string{"env:prod","web"},
        UserData: "#cloud-config\nruncmd:\n  - touch /test.txt\n",
        VPCUUID: "760e09ef-dc84-11e8-981e-3cfdfeaae000",
    }
Ruby
Using DropletKit, the official DigitalOcean API client for Ruby:
require 'droplet_kit'
token = ENV['DIGITALOCEAN_TOKEN']
client = DropletKit::Client.new(access_token: token)

droplet = DropletKit::Droplet.new(
  name: 'example.com',
  region: 'nyc3',
  size: 's-1vcpu-1gb',
  image: 'ubuntu-20-04-x64',
  ssh_keys: [289794,"3b:16:e4:bf:8b:00:8b:b8:59:8c:a9:d3:f0:19:fa:45"],
  backups: true,
  ipv6: true,
  monitoring: true,
  tags: ["env:prod","web"],
  user_data: "#cloud-config\nruncmd:\n  - touch /test.txt\n",
  vpc_uuid: "760e09ef-dc84-11e8-981e-3cfdfeaae000",
)
client.droplets.create(droplet)
Python
Using PyDo, the official DigitalOcean API client for Python:
import os
from pydo import Client

client = Client(token=os.environ.get("DIGITALOCEAN_TOKEN"))

req = {
  "name": "example.com",
  "region": "nyc3",
  "size": "s-1vcpu-1gb",
  "image": "ubuntu-20-04-x64",
  "ssh_keys": [
    289794,
    "3b:16:e4:bf:8b:00:8b:b8:59:8c:a9:d3:f0:19:fa:45"
  ],
  "backups": True,
  "ipv6": True,
  "monitoring": True,
  "tags": [
    "env:prod",
    "web"
  ],
  "user_data": "#cloud-config\nruncmd:\n  - touch /test.txt\n",
  "vpc_uuid": "760e09ef-dc84-11e8-981e-3cfdfeaae000"
}

resp = client.droplets.create(body=req)
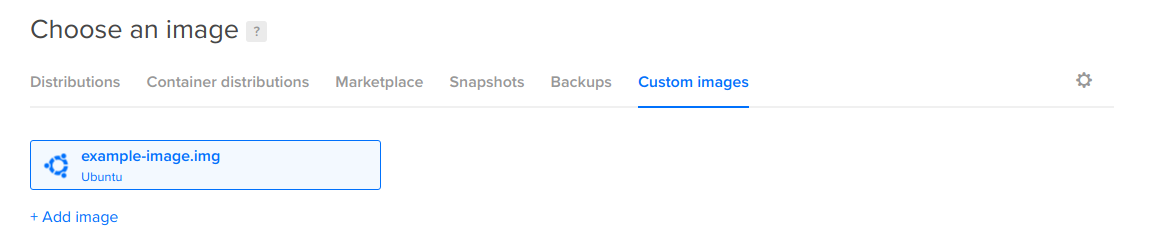
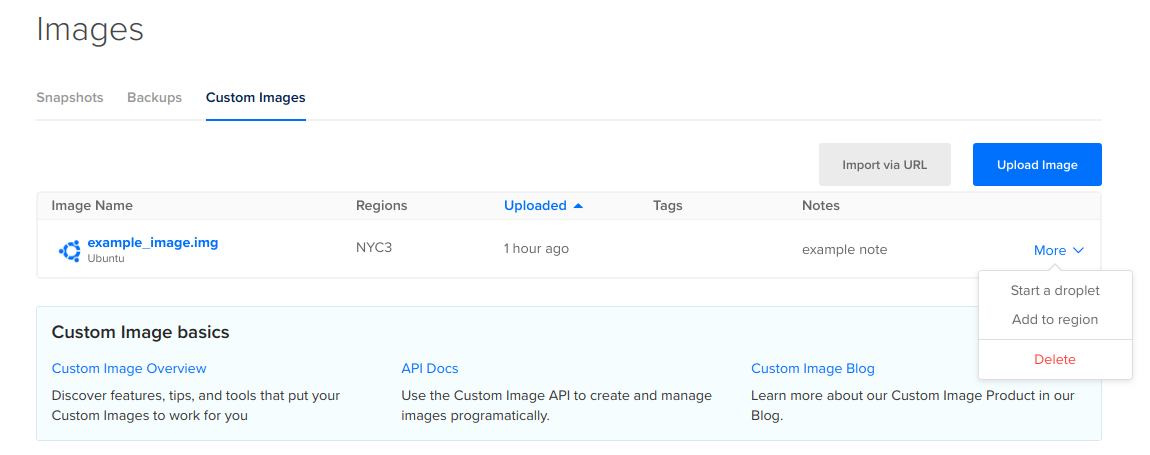
Regardless of which method you choose, finish selecting your options on the Droplet create page, and then click Create Droplet. You can only create Droplets in the same region as your custom image, but you can add custom images to other regions.
After your Droplet is created, you can connect to it with SSH.