
Deploying a Next.js Application on a DigitalOcean Droplet
Next.js is a popular React framework for building server-rendered React applications with ease. In this tutorial, we’ll walk through deploying a Next.js application on a DigitalOcean droplet using Nginx as a reverse proxy. This step-by-step guide assumes you have a Next.js application ready to deploy and a DigitalOcean account.
Here’s an overview of the key resources you may need:
- Next.js - The official website of the Next.js framework.
- React - The official website of the React JavaScript library.
- DigitalOcean - Create a DigitalOcean account if you don’t have one already
Prerequisites
- A Next.js application
- A DigitalOcean account
- A registered domain name (optional but recommended)
- A local installation of Node.js and npm or yarn
Step 1: Creating a DigitalOcean Droplet
We’ll be hosting our Next.js app on a DigitalOcean Droplet that we configure ourselves. Let’s create the Droplet now.
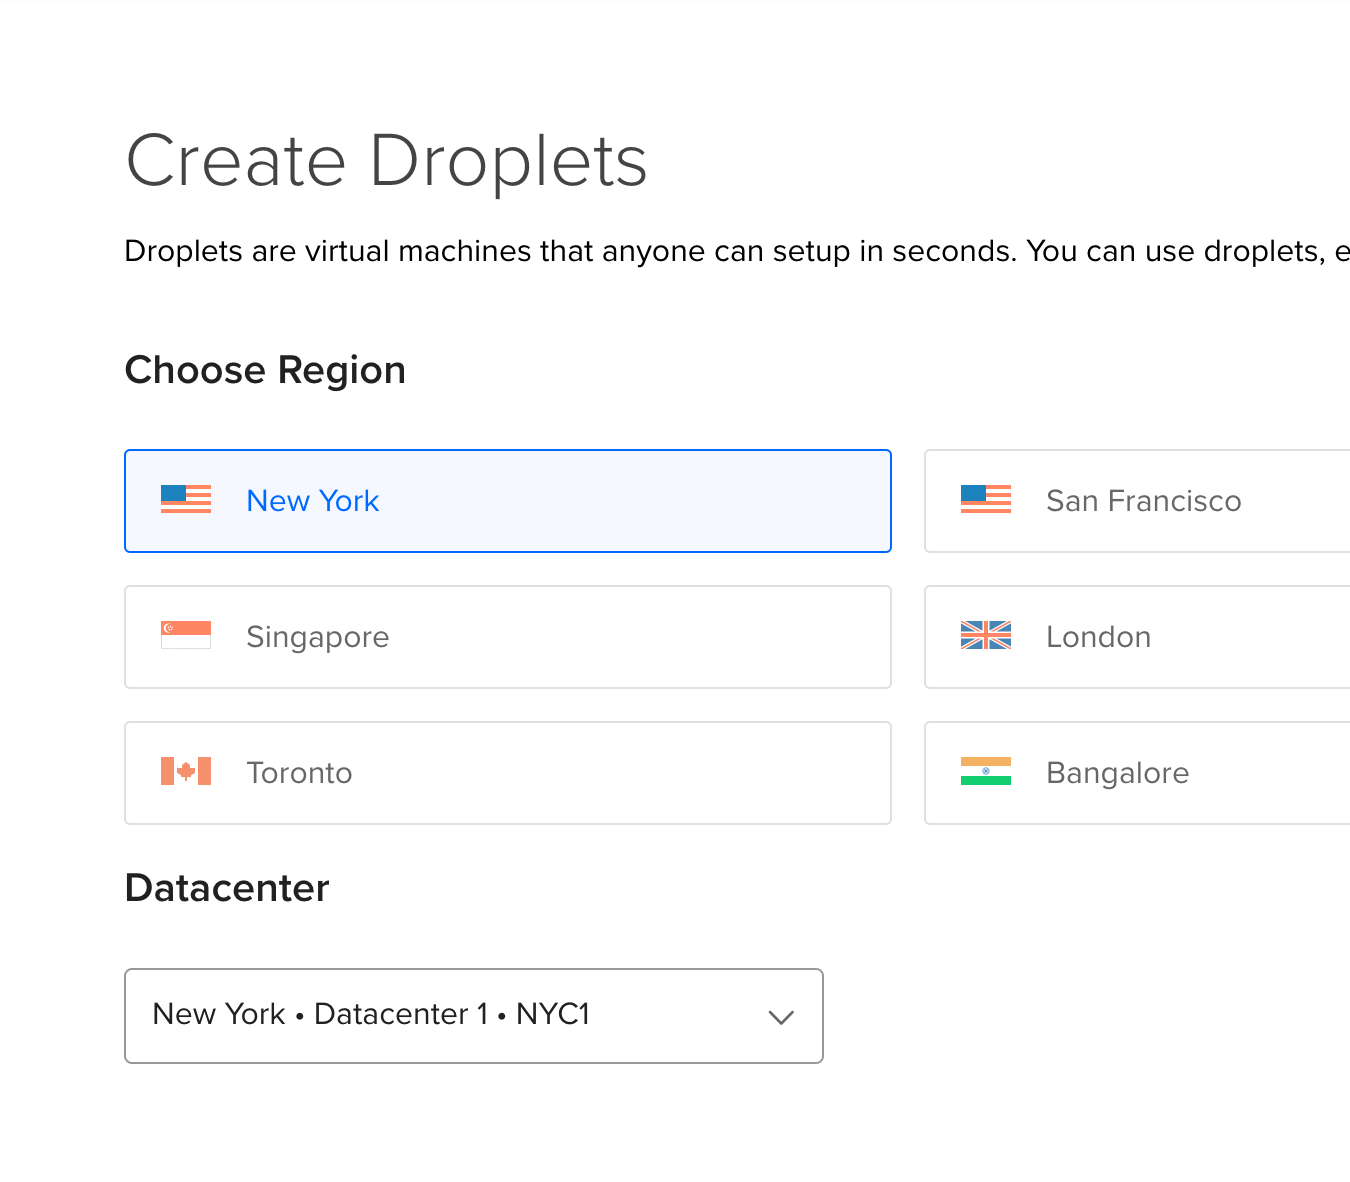
- Log in to your DigitalOcean account and navigate to the Droplets section.
- Click “Create Droplet.”
- Choose the Ubuntu image (preferably the latest LTS version).
- Select the desired droplet size according to your needs and budget.
- Choose a datacenter region closest to your target audience for better performance.
- Add your SSH keys for secure access to your droplet.
- Choose a hostname for your droplet, which can be your domain name or any preferred name.
- Click “Create Droplet.”
- Create Droplet
Once the Droplet is created, note down the IP address assigned to it.
Step 2: Setting Up the Droplet
Now that we’ve created the droplet, we need to prepare it so that it can accept incoming connections and route those connections to our Next.js application.
SSH into your droplet using the IP address and the SSH key you provided during the droplet creation:
ssh root@<DROPLET_IP>
Update and upgrade the packages on the droplet:
sudo apt update && sudo apt upgrade -y
Install the required packages:
sudo apt install -y nodejs npm nginx
Step 3: Configuring Nginx
Nginx is the tool that will handle all the routing to our Next.js application. Create a new Nginx configuration file for your Next.js application:
sudo nano /etc/nginx/sites-available/nextjs
Paste the following configuration, replacing server_name with your domain name or droplet IP address:
server {
  listen 80;
  server_name YOUR_IP_ADDRESS;
  location / {
    proxy_pass http://localhost:3000;
    proxy_http_version 1.1;
    proxy_set_header Upgrade $http_upgrade;
    proxy_set_header Connection 'upgrade';
    proxy_set_header Host $host;
    proxy_cache_bypass $http_upgrade;
  }
}
Save and close the file. Create a symbolic link to enable the configuration:
sudo ln -s /etc/nginx/sites-available/nextjs /etc/nginx/sites-enabled/
Test the Nginx configuration for any syntax errors:
sudo nginx -t
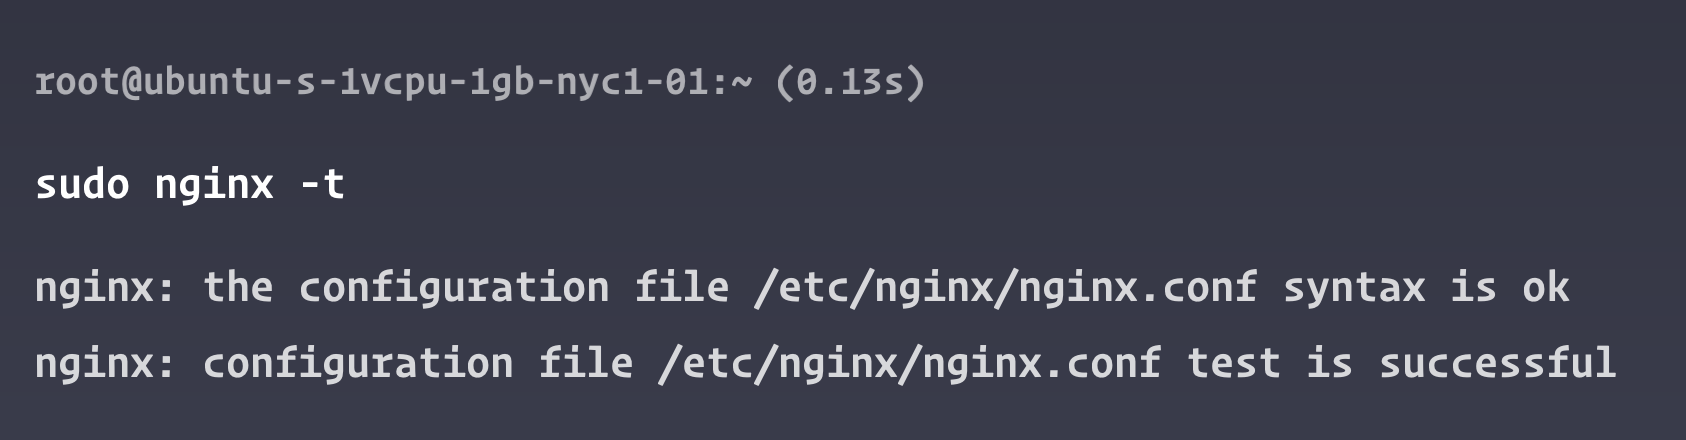
If the configuration test is successful, restart Nginx:
sudo service nginx restart
Step 4: Deploying the Next.js Application
Next up, we’ll get a Next.js application onto the Droplet. There are many options to do this.
- Create an SSH key on the server, connect it to your GitHub account, and clone your repo
- Create a Next.js application on the Droplet
For this tutorial, we will be creating a brand new Next.js application in our Droplet.
SSH back into your droplet:
ssh root@<DROPLET_IP>
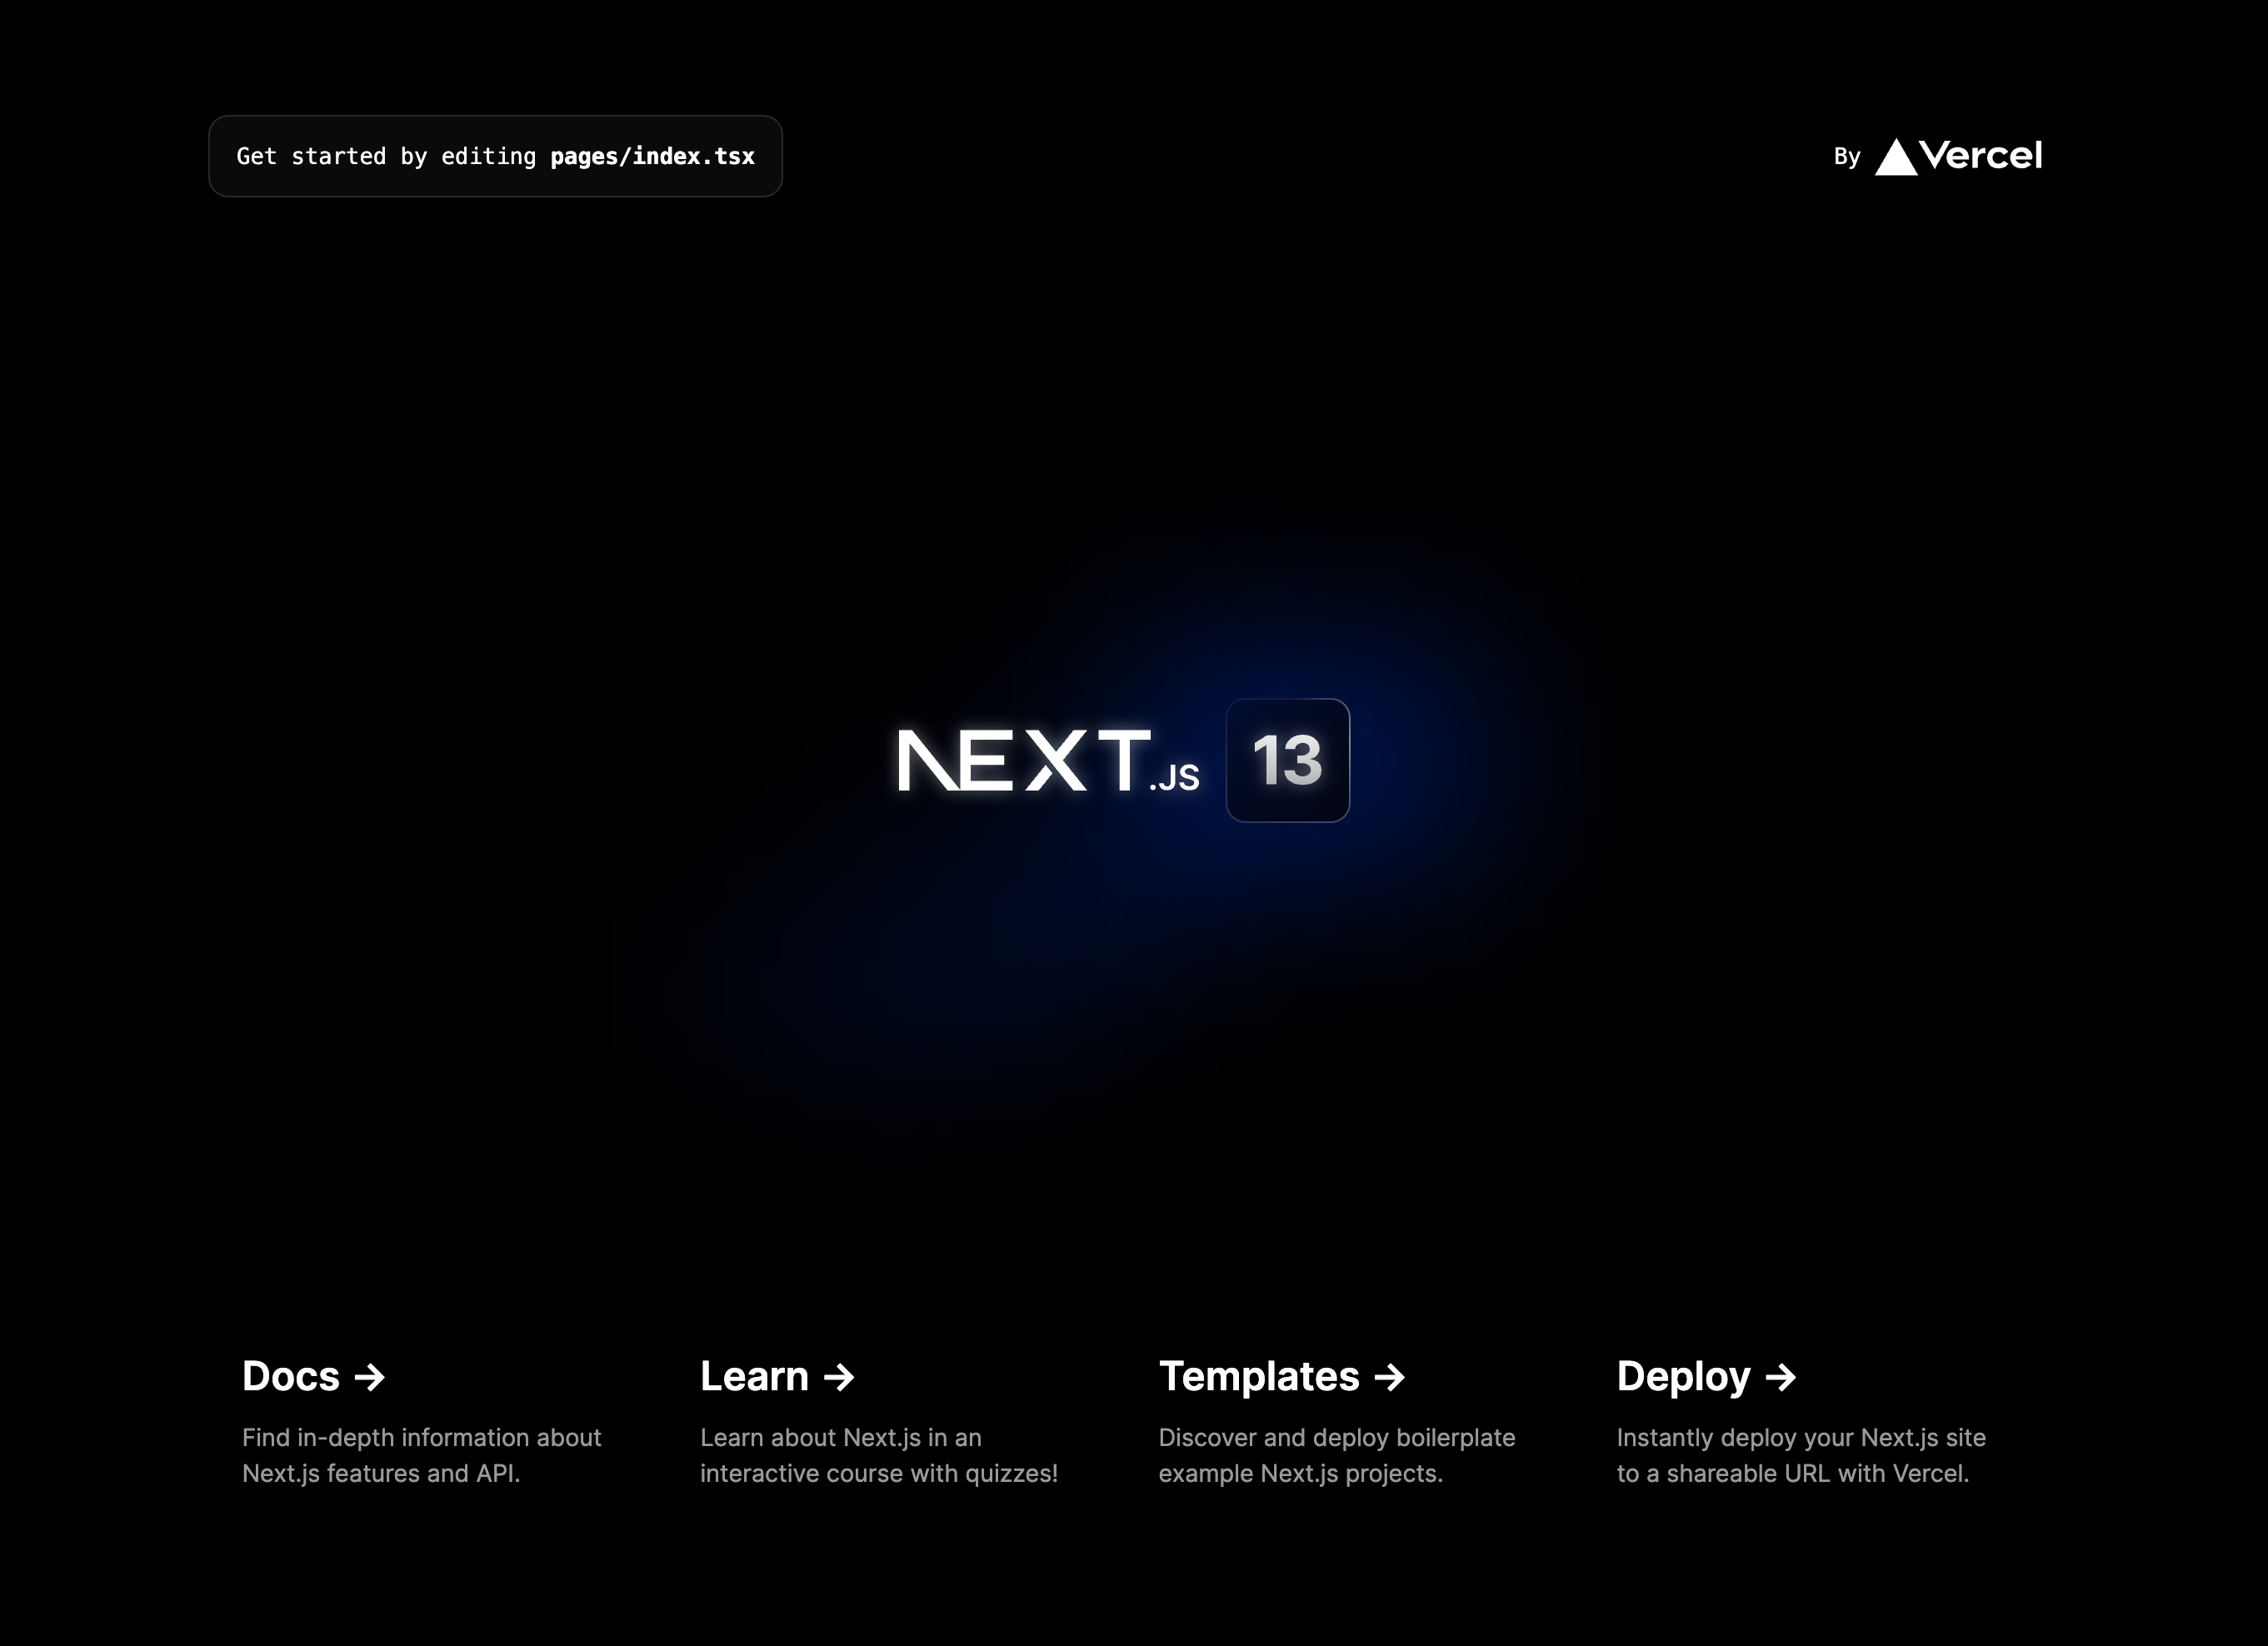
Create a new Next.js application and follow the prompts:
cd /var/www
npx create-next-app nextjs
Navigate to the Next.js application directory:
cd nextjs
Install the application dependencies:
npm install
Build the Next.js application:
npm run build
Finally, start the Next.js application:
npm start
Your Next.js application is now deployed and accessible at your domain name or droplet IP address. To keep your application running in the background and automatically restart on crashes or server reboots, you should use a process manager like PM2.
Step 5: Setting Up PM2 Process Manager
We ran npm start from within our Droplet. Sometimes this command may stop running for reasons like the server restarted or it needed to install updates. We will use a tool called PM2 to make sure that our Next.js application is always running. PM2 will even restart the Next.js application if it goes down.
To install PM2 globally on your droplet:
sudo npm install -g pm2
Navigate to the Next.js application directory (if not already there):
cd /var/www/nextjs
Start the Next.js application using PM2:
pm2 start npm --name "nextjs" -- start
This command will start the Next.js application with the name “nextjs” using the npm start command. PM2 will automatically restart the application if it crashes or if the server reboots.
To ensure PM2 starts on boot, run:
pm2 startup
This command will generate a script that you can copy and paste into your terminal to enable PM2 to start on boot.
Save the current PM2 processes:
pm2 save
Conclusion
You have now successfully deployed a Next.js application on a DigitalOcean droplet using Nginx as a reverse proxy and PM2 as a process manager. Your application should be accessible at your domain name or droplet IP address.
Remember to configure your DNS settings if you are using a domain name. Point your domain’s A record to your droplet’s IP address to access the application using the domain name.
For improved security and SEO, consider setting up SSL certificates using Let’s Encrypt and enforcing HTTPS connections. Additionally, you can explore optimizing your Next.js application with caching and other performance improvements.
That’s it! You have successfully deployed your Next.js application on a DigitalOcean Droplet. Happy coding!